
We all have DIY tasks that we struggle with, whether it’s putting up shelves or laying a patio, there are some jobs we just avoid doing. However, with some planning and a good level of preparation, there’s not much that you can’t accomplish if you put your mind to it.
Laying flooring
Laminate flooring is very popular and often laid as a DIY task. However, some people are very wary of laying any kind of flooring despite many types being designed for ease of installation. Common concerns are the floor not being level, negotiating doorways and transitions to other rooms. In reality, laying planks of flooring is not that difficult as long as you take your time and plan the work.
Remove any existing skirting and replace when the floor is laid. Underlay is necessary beneath most types of flooring and an expansion gap around the edges is needed, you can use spacers for this. Remember to stagger all joints which should be at least 300mm apart to achieve an attractive finish and ensure the strength of the installation.
There are plenty of step-by-step videos online taking you through the process of laying laminate flooring. So be brave, take that step and you’ll be rewarded with a great looking floor and a huge sense of achievement.
Tiling a bathroom
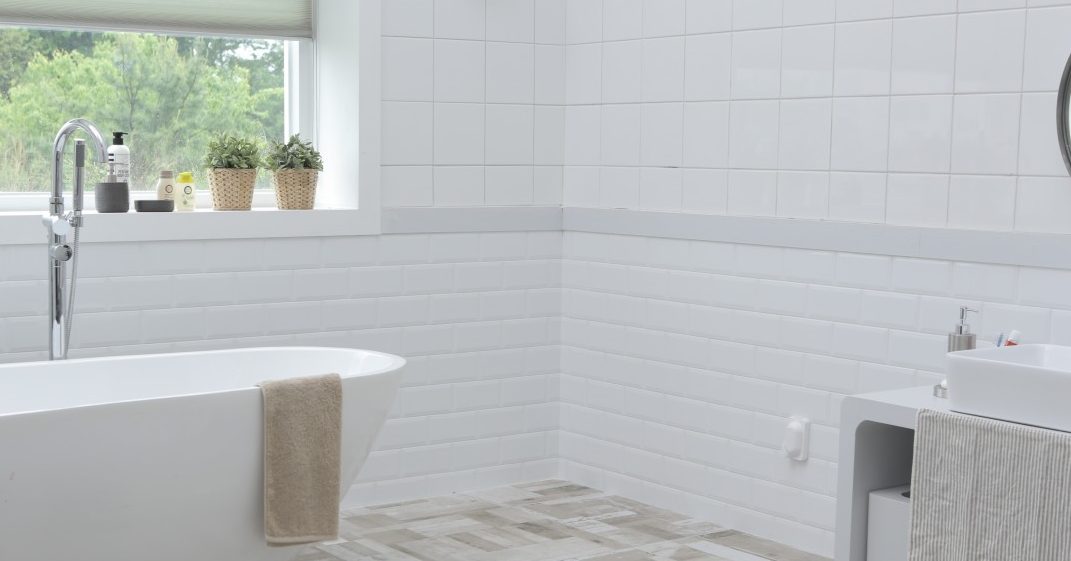
As with any challenging DIY task such as tiling a bathroom, taking your time and carrying out all necessary preparations are keys to success. This job is not recommended for those new to DIY but is within the capability of anyone who has some experience of home improvement.
First, you’ll need to calculate how many square metres of tiles you’ll need and then add an extra 10-15% for breakages and cuts. It is essential that you buy enough tiles and ensure that they are all from the same batch by checking the numbers on the boxes. Slight colour variations are common even within the same design/pattern/style of tiles and this will be very obvious when they are on the wall.
Make sure you have all the right equipment and prepare the surfaces thoroughly, ensuring that the walls are level. When calculating where your first tile needs to go or when creating a template to cut around objects, make sure you are measuring two or three times to be completely accurate and avoid mistakes. Only cut your tiles when you are absolutely sure that your template is correct. Tiles spacers ensure even gaps and neat grout lines and don’t forget that you place the tile adhesive on the wall, not on the tiles. Take your time, follow instructions and before you know it, you’ll have tiled your first bathroom!
Hanging wallpaper
There are several aspects of wallpapering that put people off, most notably making sure it is straight and negotiating around corners. But it doesn’t have to be a decorating nightmare.
The key is to start small, with a non-patterned paper and make sure that you do all of the necessary preparation. This means removing all traces of any old paper, cleaning the wall, filling any holes or cracks and sanding down the filler. When hanging the paper, make sure to use a plumb line to get a straight vertical line for the first drop and use the best adhesive. Cutting the paper to length and folding it correctly is also an art form that can be learned with practice.
Once you have mastered a small room with plain wallpaper, you can move up to a larger space and a patterned paper. With this new skill you can transform every room in your house for a fraction of the price of hiring a decorator.