

I mentioned in a recent blog post that I had spent a lot of time during lockdown giving our garden a full makeover on a budget! We moved into our Victorian terrace in September last year and we hadn’t really ventured out into the garden at all over winter. When I was furloughed from work at the end of March due to coronavirus I had a lot of spare time on my hands and the weather was just beginning to warm up, so it was the perfect time to start my first stencilling project! Read on to find out how to stencil a concrete patio and give your garden a makeover on a budget.
Don’t forget to follow me on Instagram for more budget DIY tips @victoriajane6

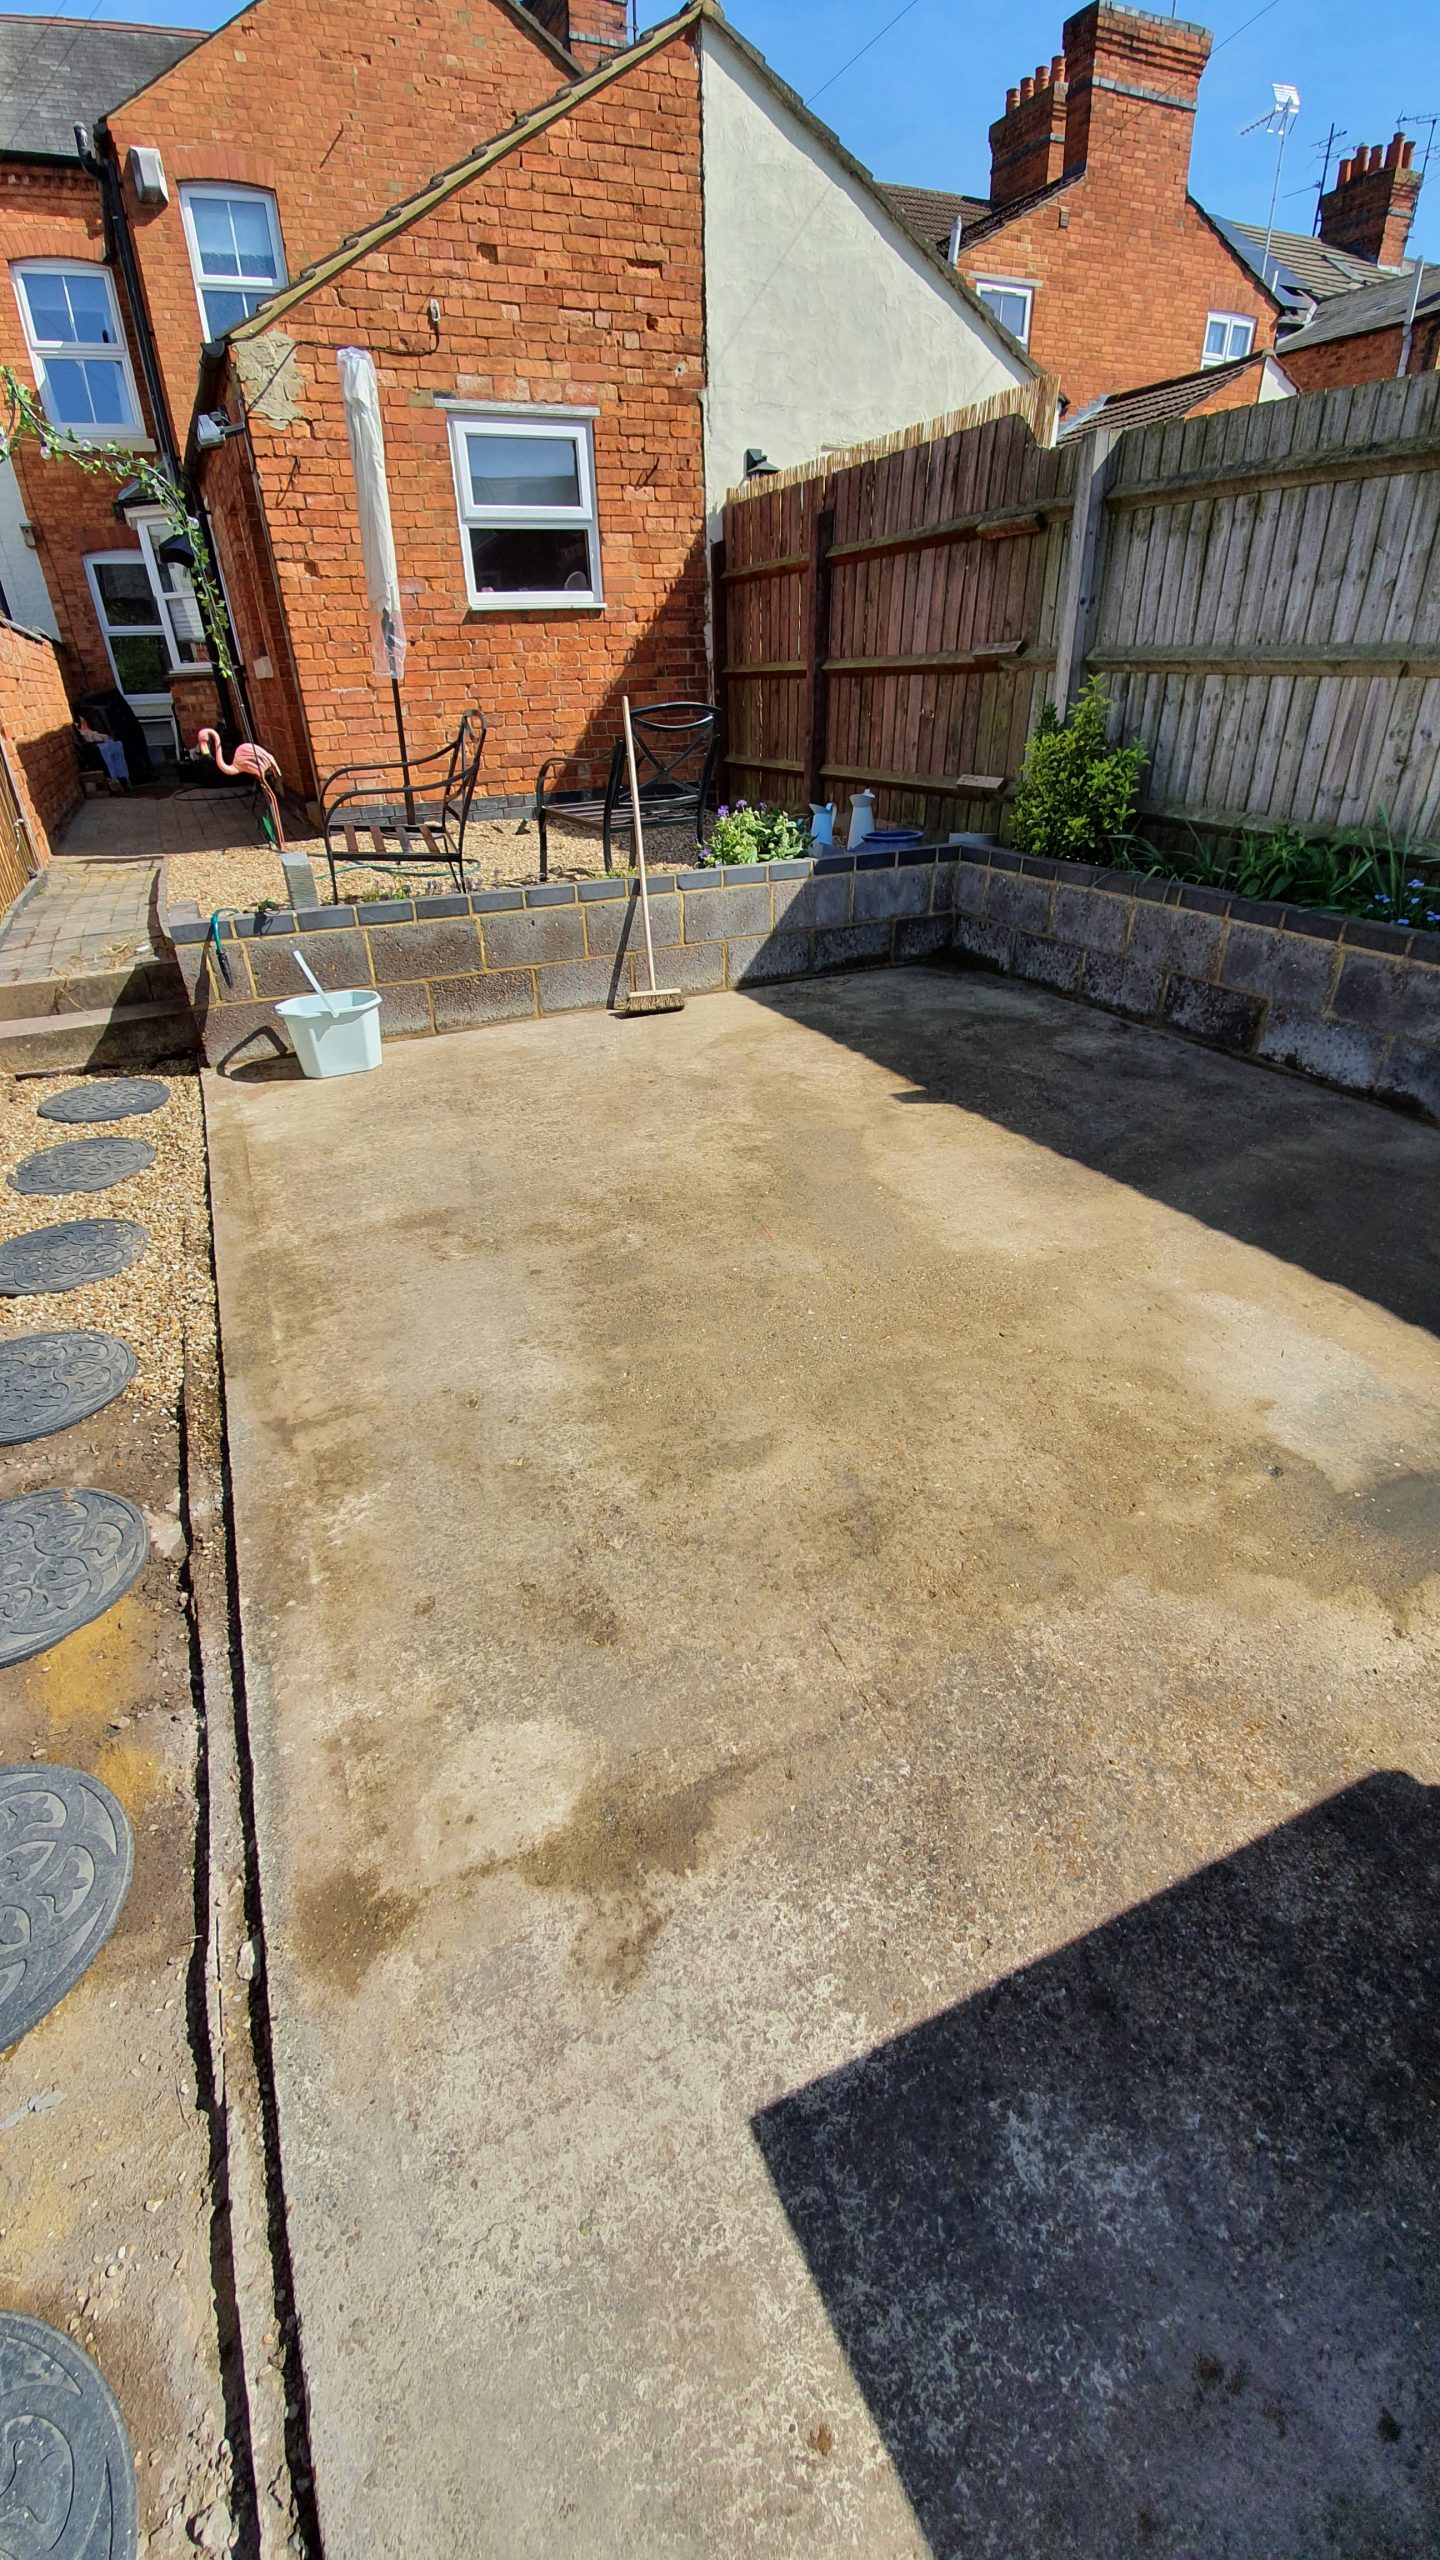
The concrete patio – Before
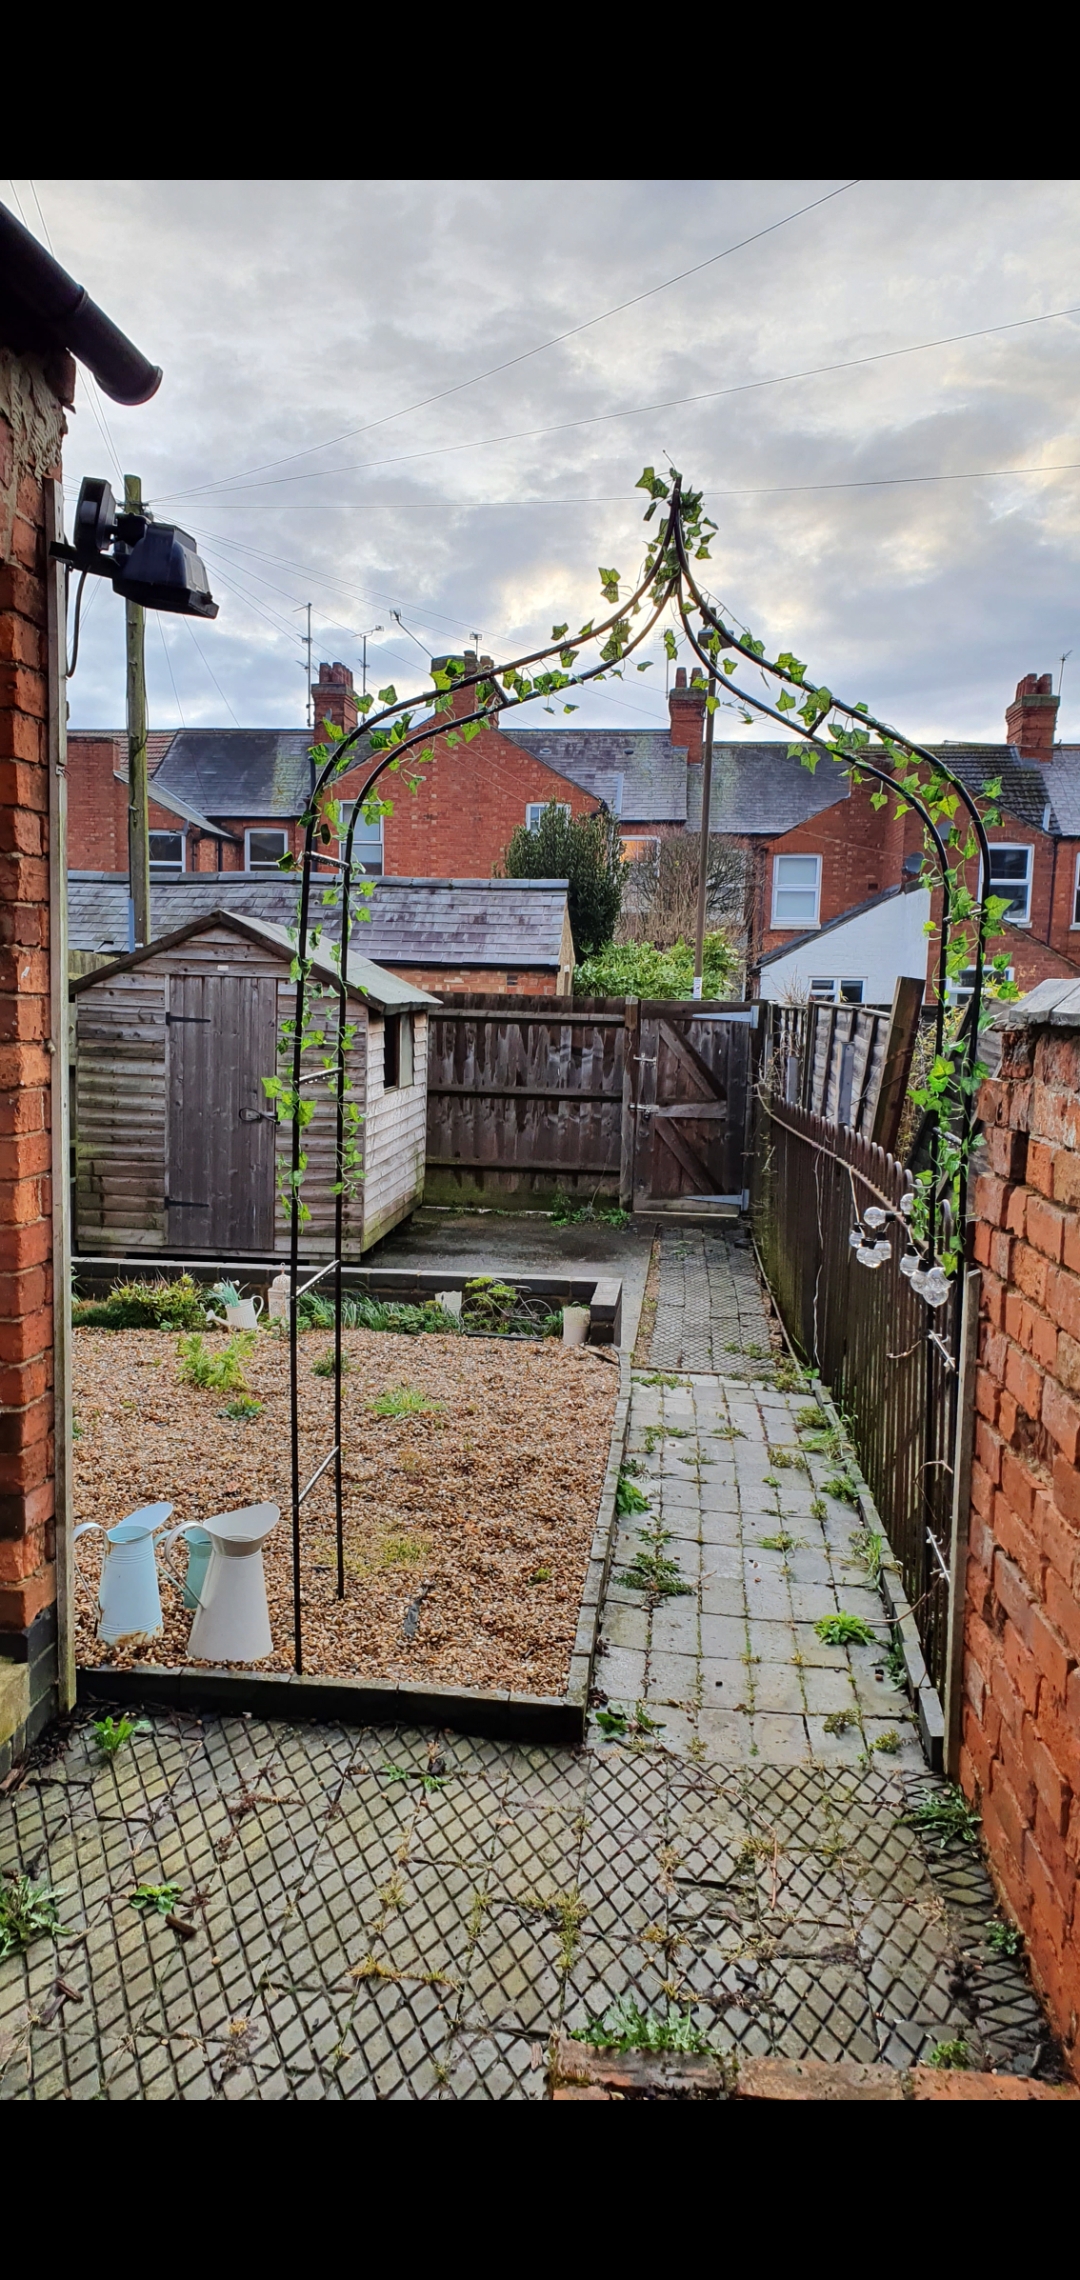
As we have a terrace house we have quite a small narrow garden which wasn’t much to look at. It is also at two heights, with the top of the garden nearest to the house higher up, and then there’s a couple of steps down to the lower part of the garden. I use the terms ‘garden’ and ‘patio’ loosely, because it’s not a very pretty, green space!
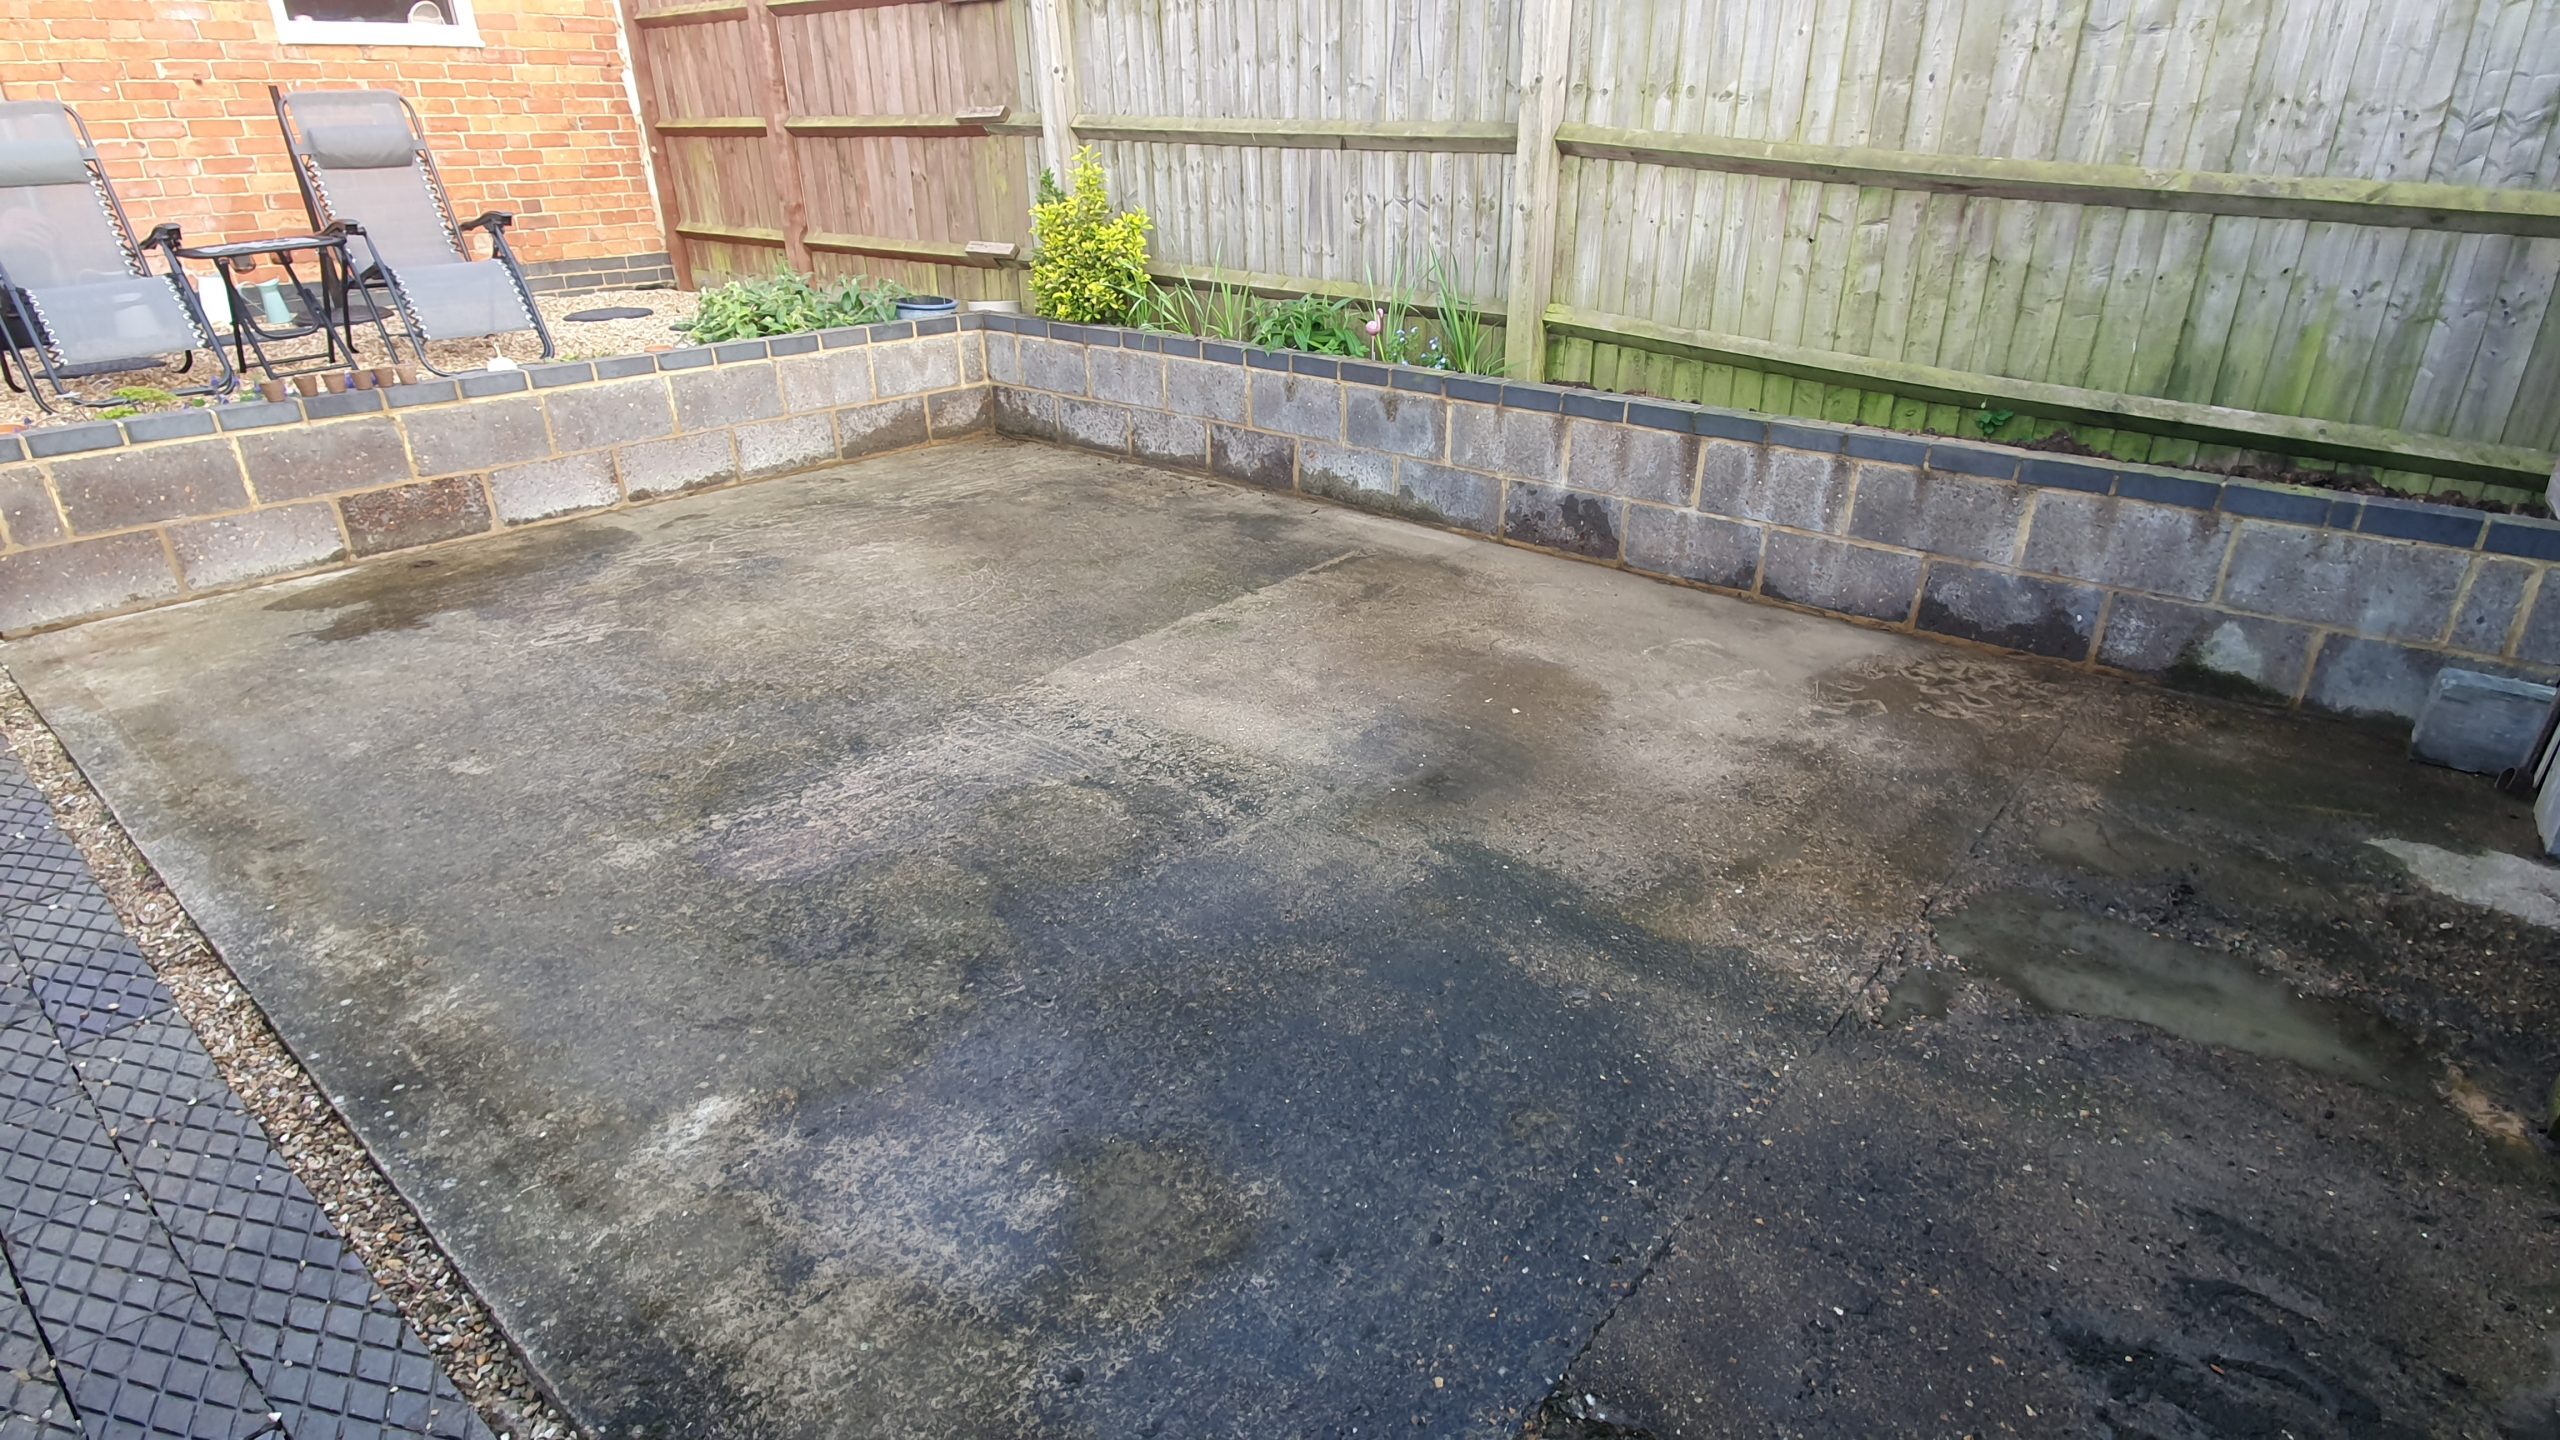
The bottom part of the garden was once used as car parking by the previous owners (we have a lane between us and the house behind so you can drive to the back of the house). So this car park area was just a big piece of very ugly and very dirty concrete with a big hideous shed on it.
I hated how our garden looked but I wanted to make it somewhere that we could relax and enjoy in the summer, and after looking at various options to make it look better, painting and stencilling seemed like the best option!
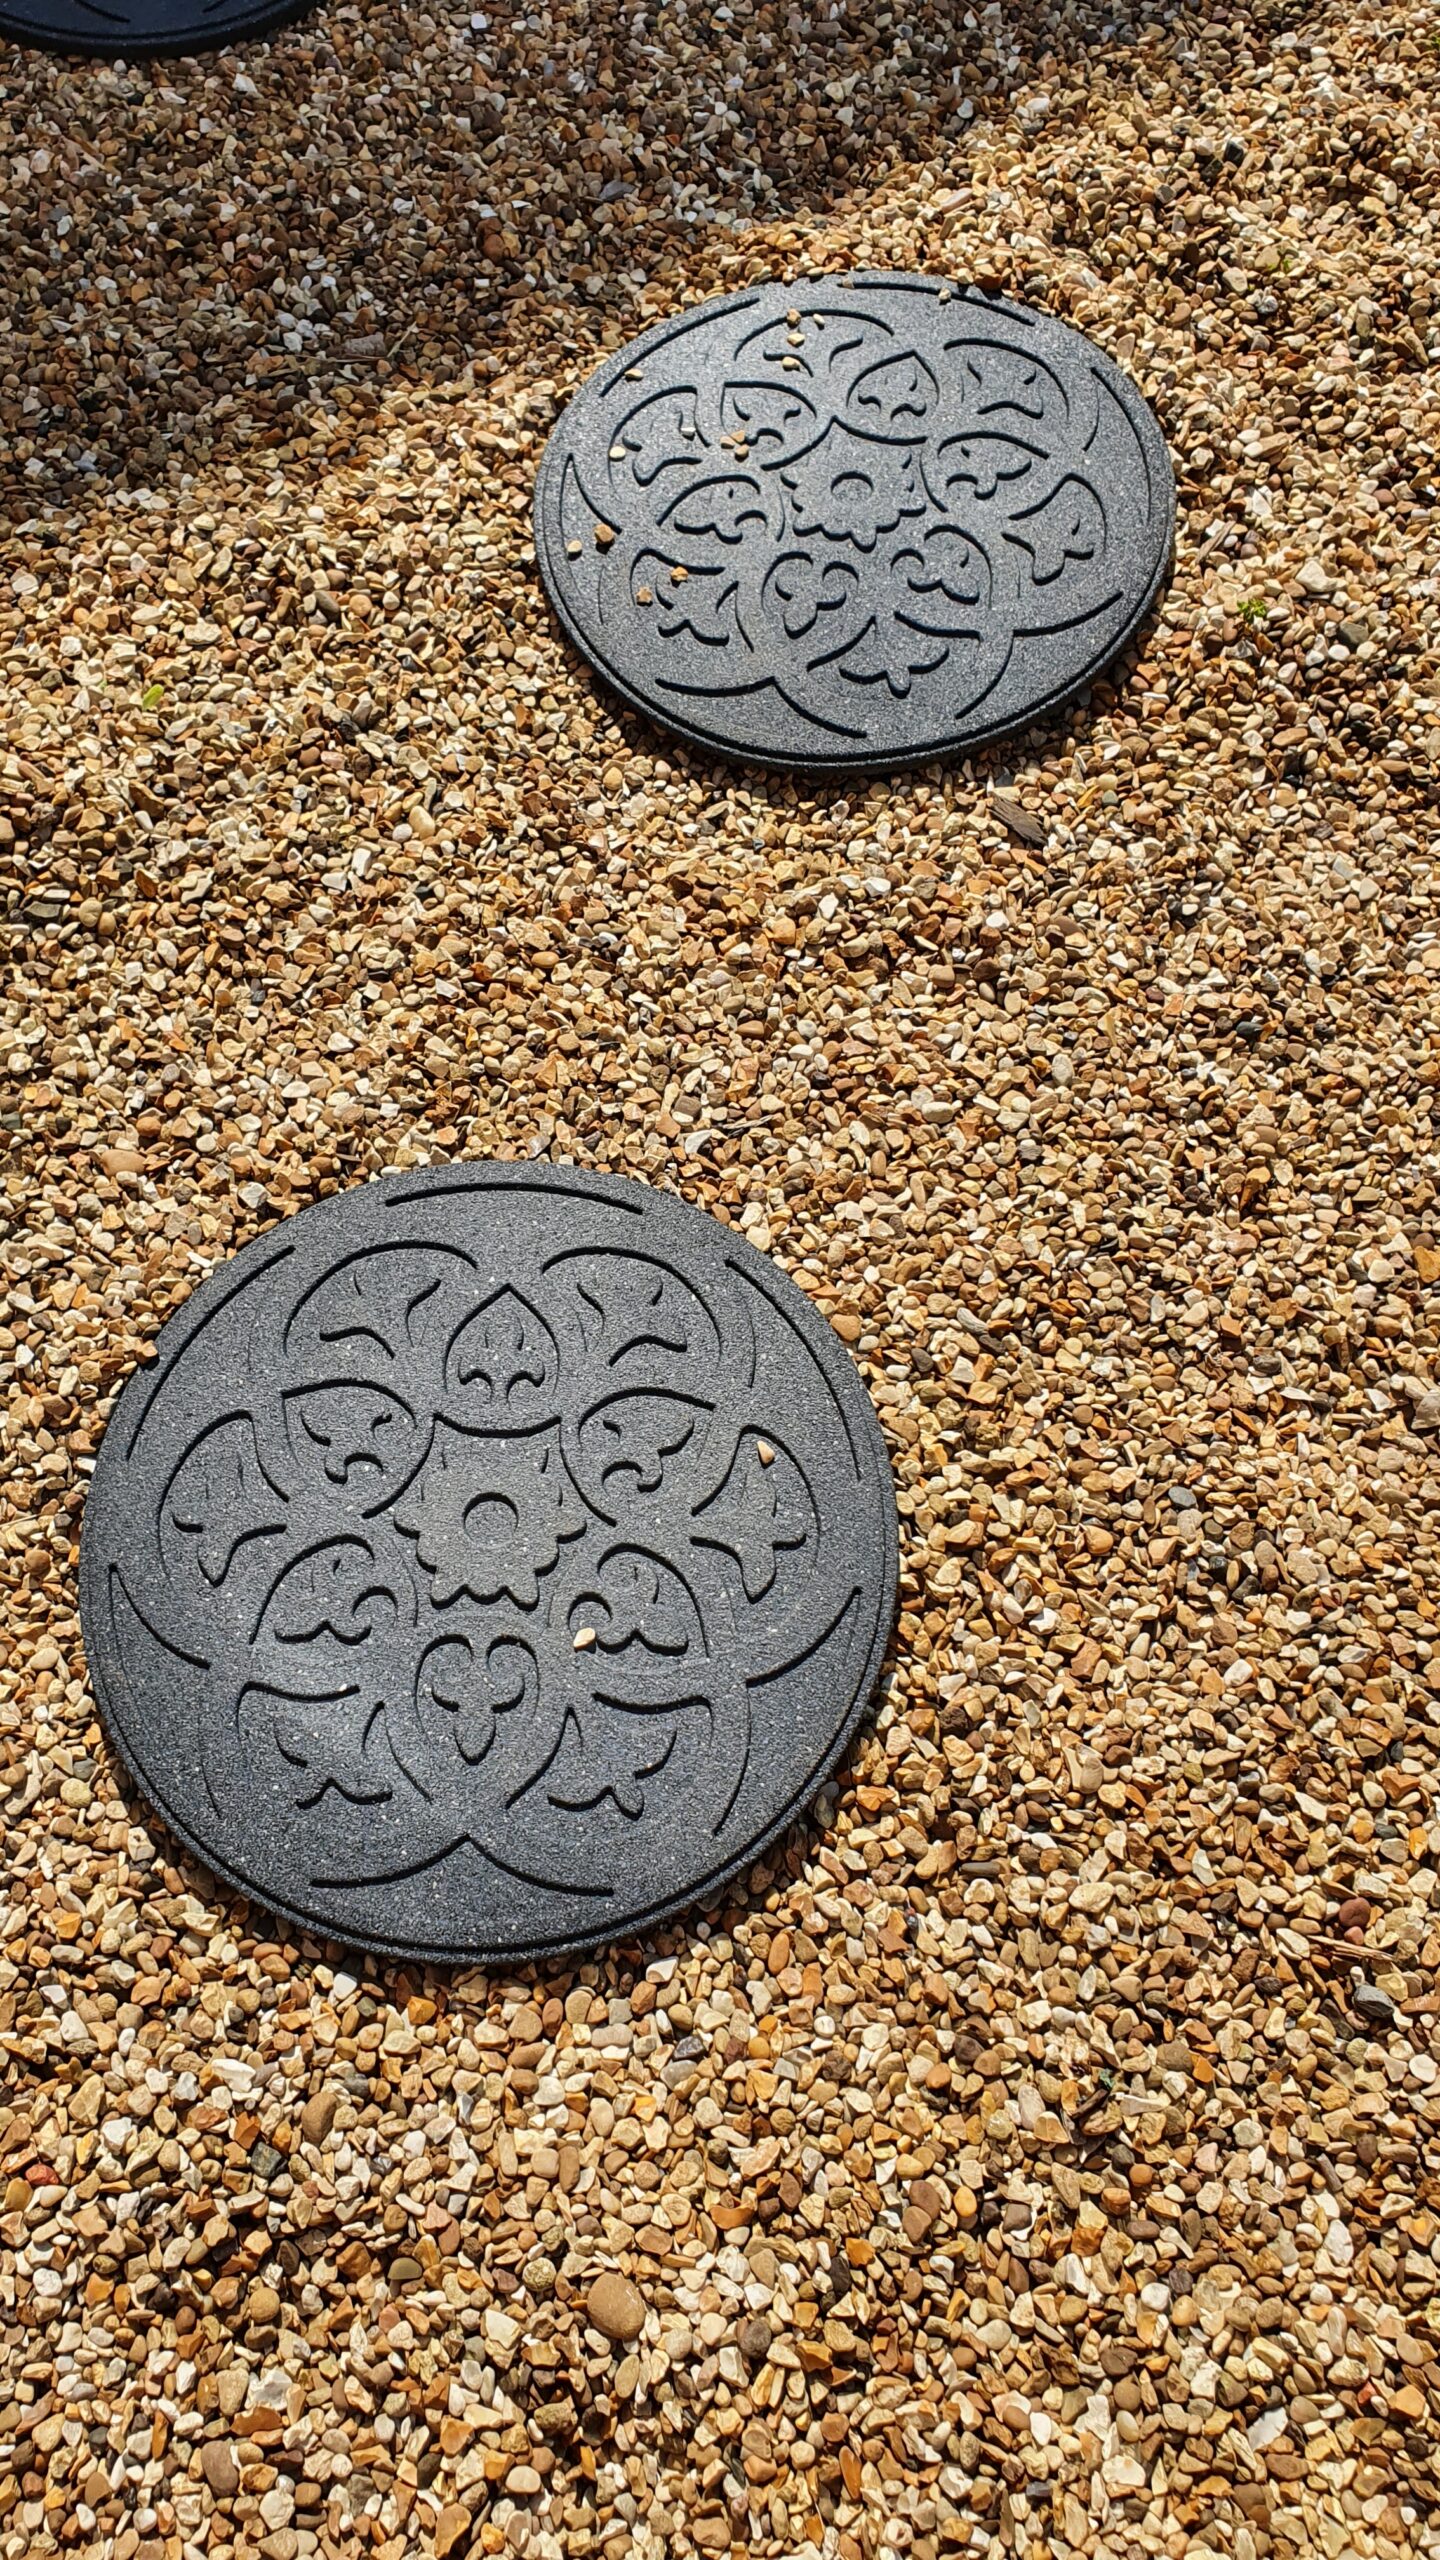
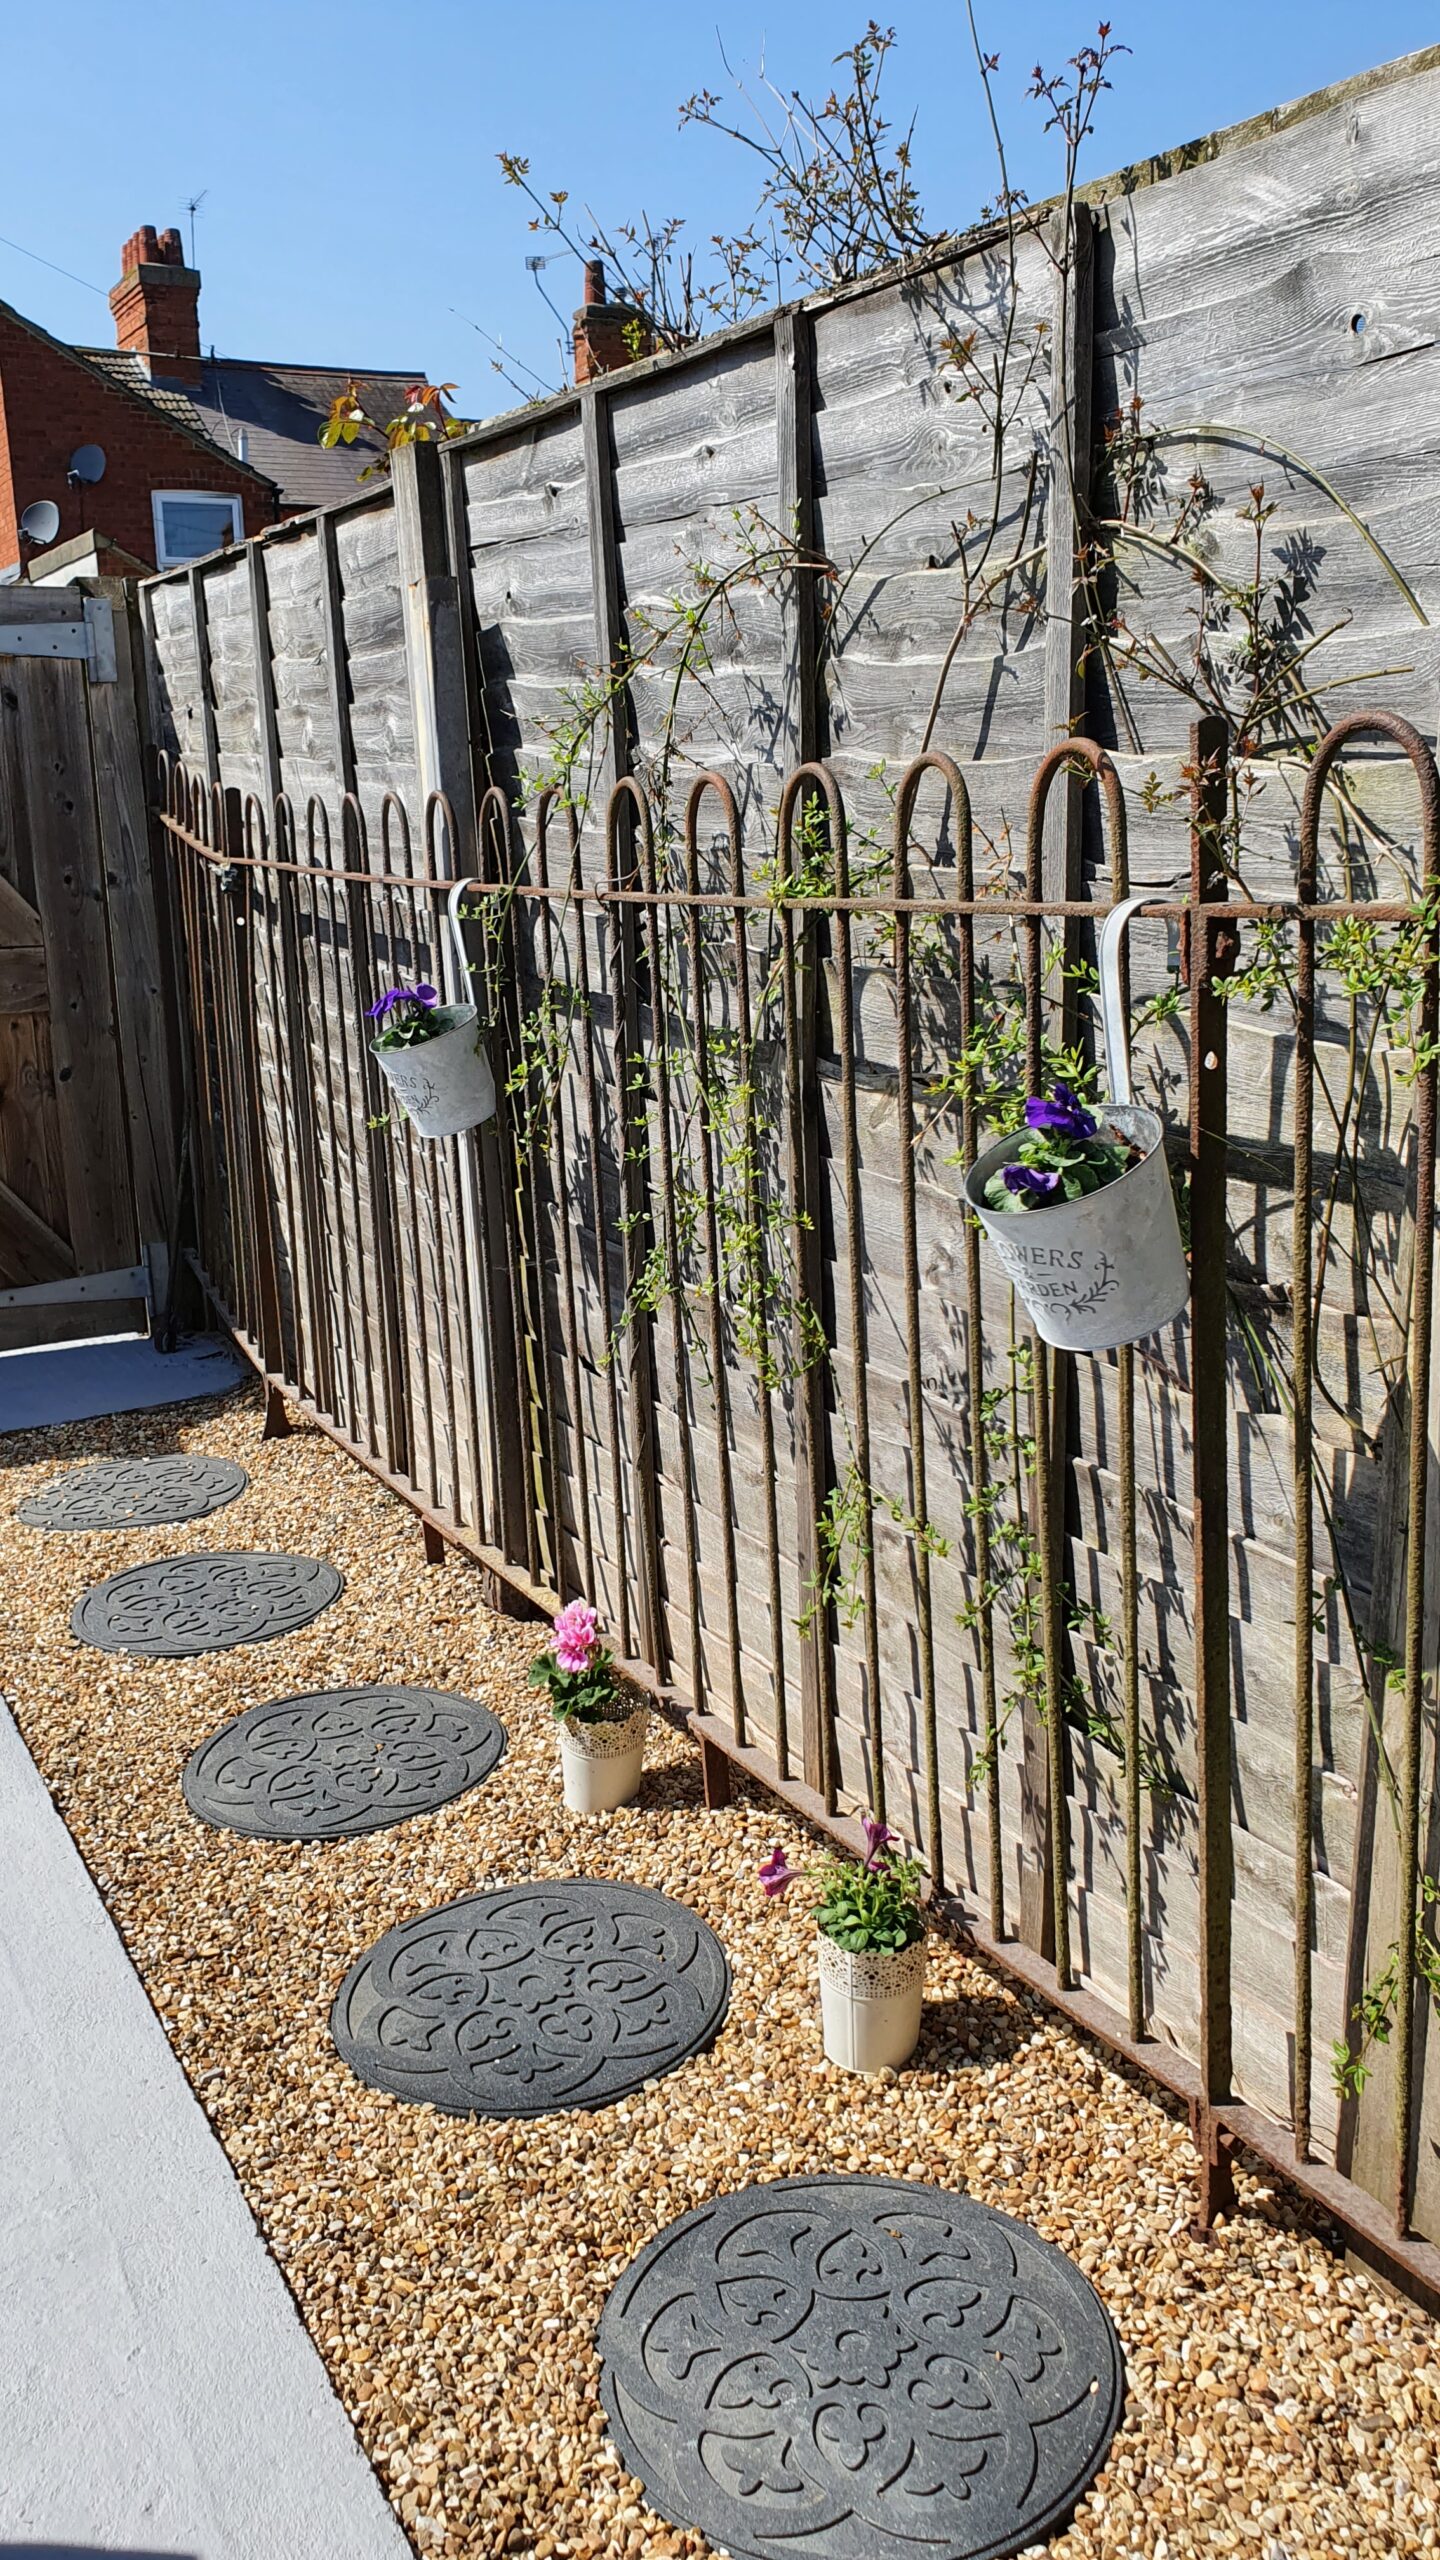
As well as stencilling in the concrete I also accessorised the garden with lots of plant pots, pretty flowers, outdoor bunting and some new stepping stones. These stepping stones from Primeur are actually made from recycled car tyres so they’re eco-friendly and durable! I laid them on top of the gravel and they’re so lightweight and easy to lift compared to heavy concrete slabs – but I think they’re actually more durable as they don’t chip, fade or discolour from algae.
I hope you enjoy my step by step guide on how to stencil your patio.

Preparation of the concrete
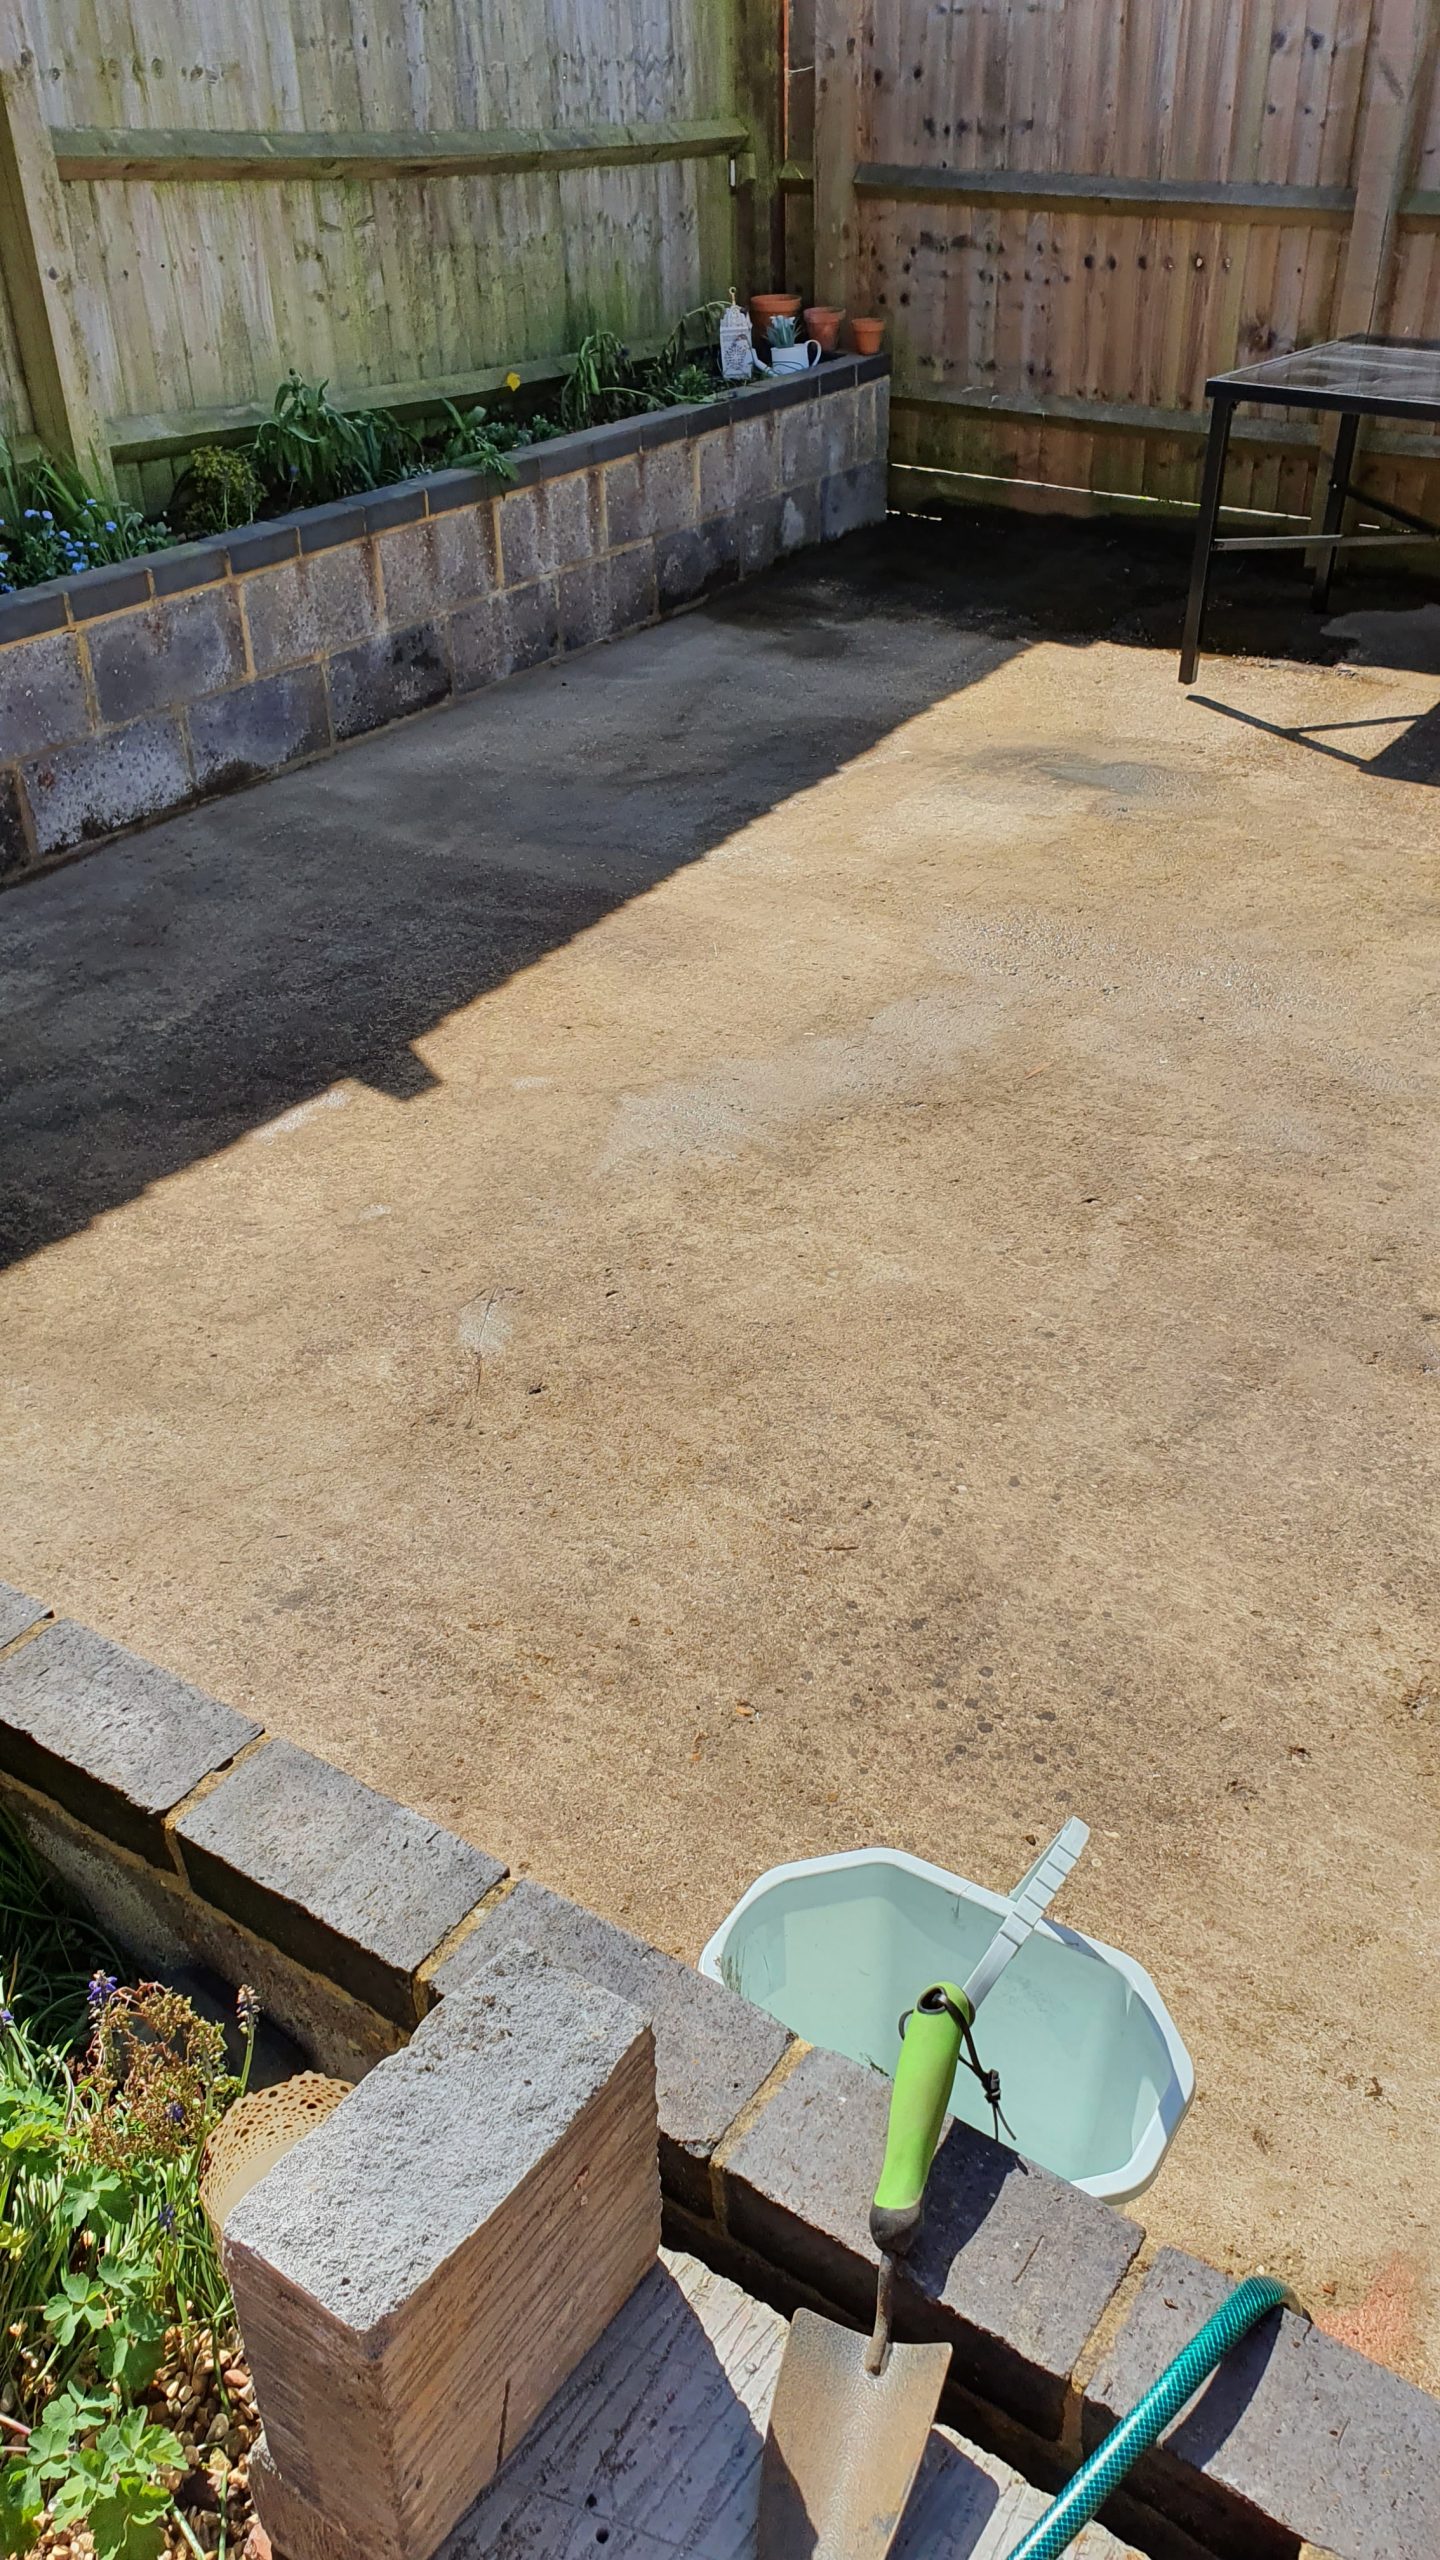
I started the garden makeover by first getting rid of the rotten shed – luckily someone on Facebook wanted the shed for their own garden so came and dismantled it and took it away for free! So that saved us a job and a trip to the tip. I then needed to prepare the concrete by giving it a good clean so it was ready to paint.
After sweeping away any debris I tried a few different methods to try and clean the concrete. I bought some expensive patio cleaner called ‘Patio Magic’ which is meant to get rid of any algae and dirt but it made absolutely no difference for me. I also borrowed my Dad’s pressure washer, but this wasn’t much use either as I had such a big area to clean.
In the end the best method for cleaning a big concrete area is to pour a bottle of bleach into a watering can, dilute it with water and then pour it over the concrete. I gave it a good scrub with a yard brush and then just left it for a day or so before hosing it down with fresh water. My patio was now nice and clean and ready to paint!
Painting the concrete
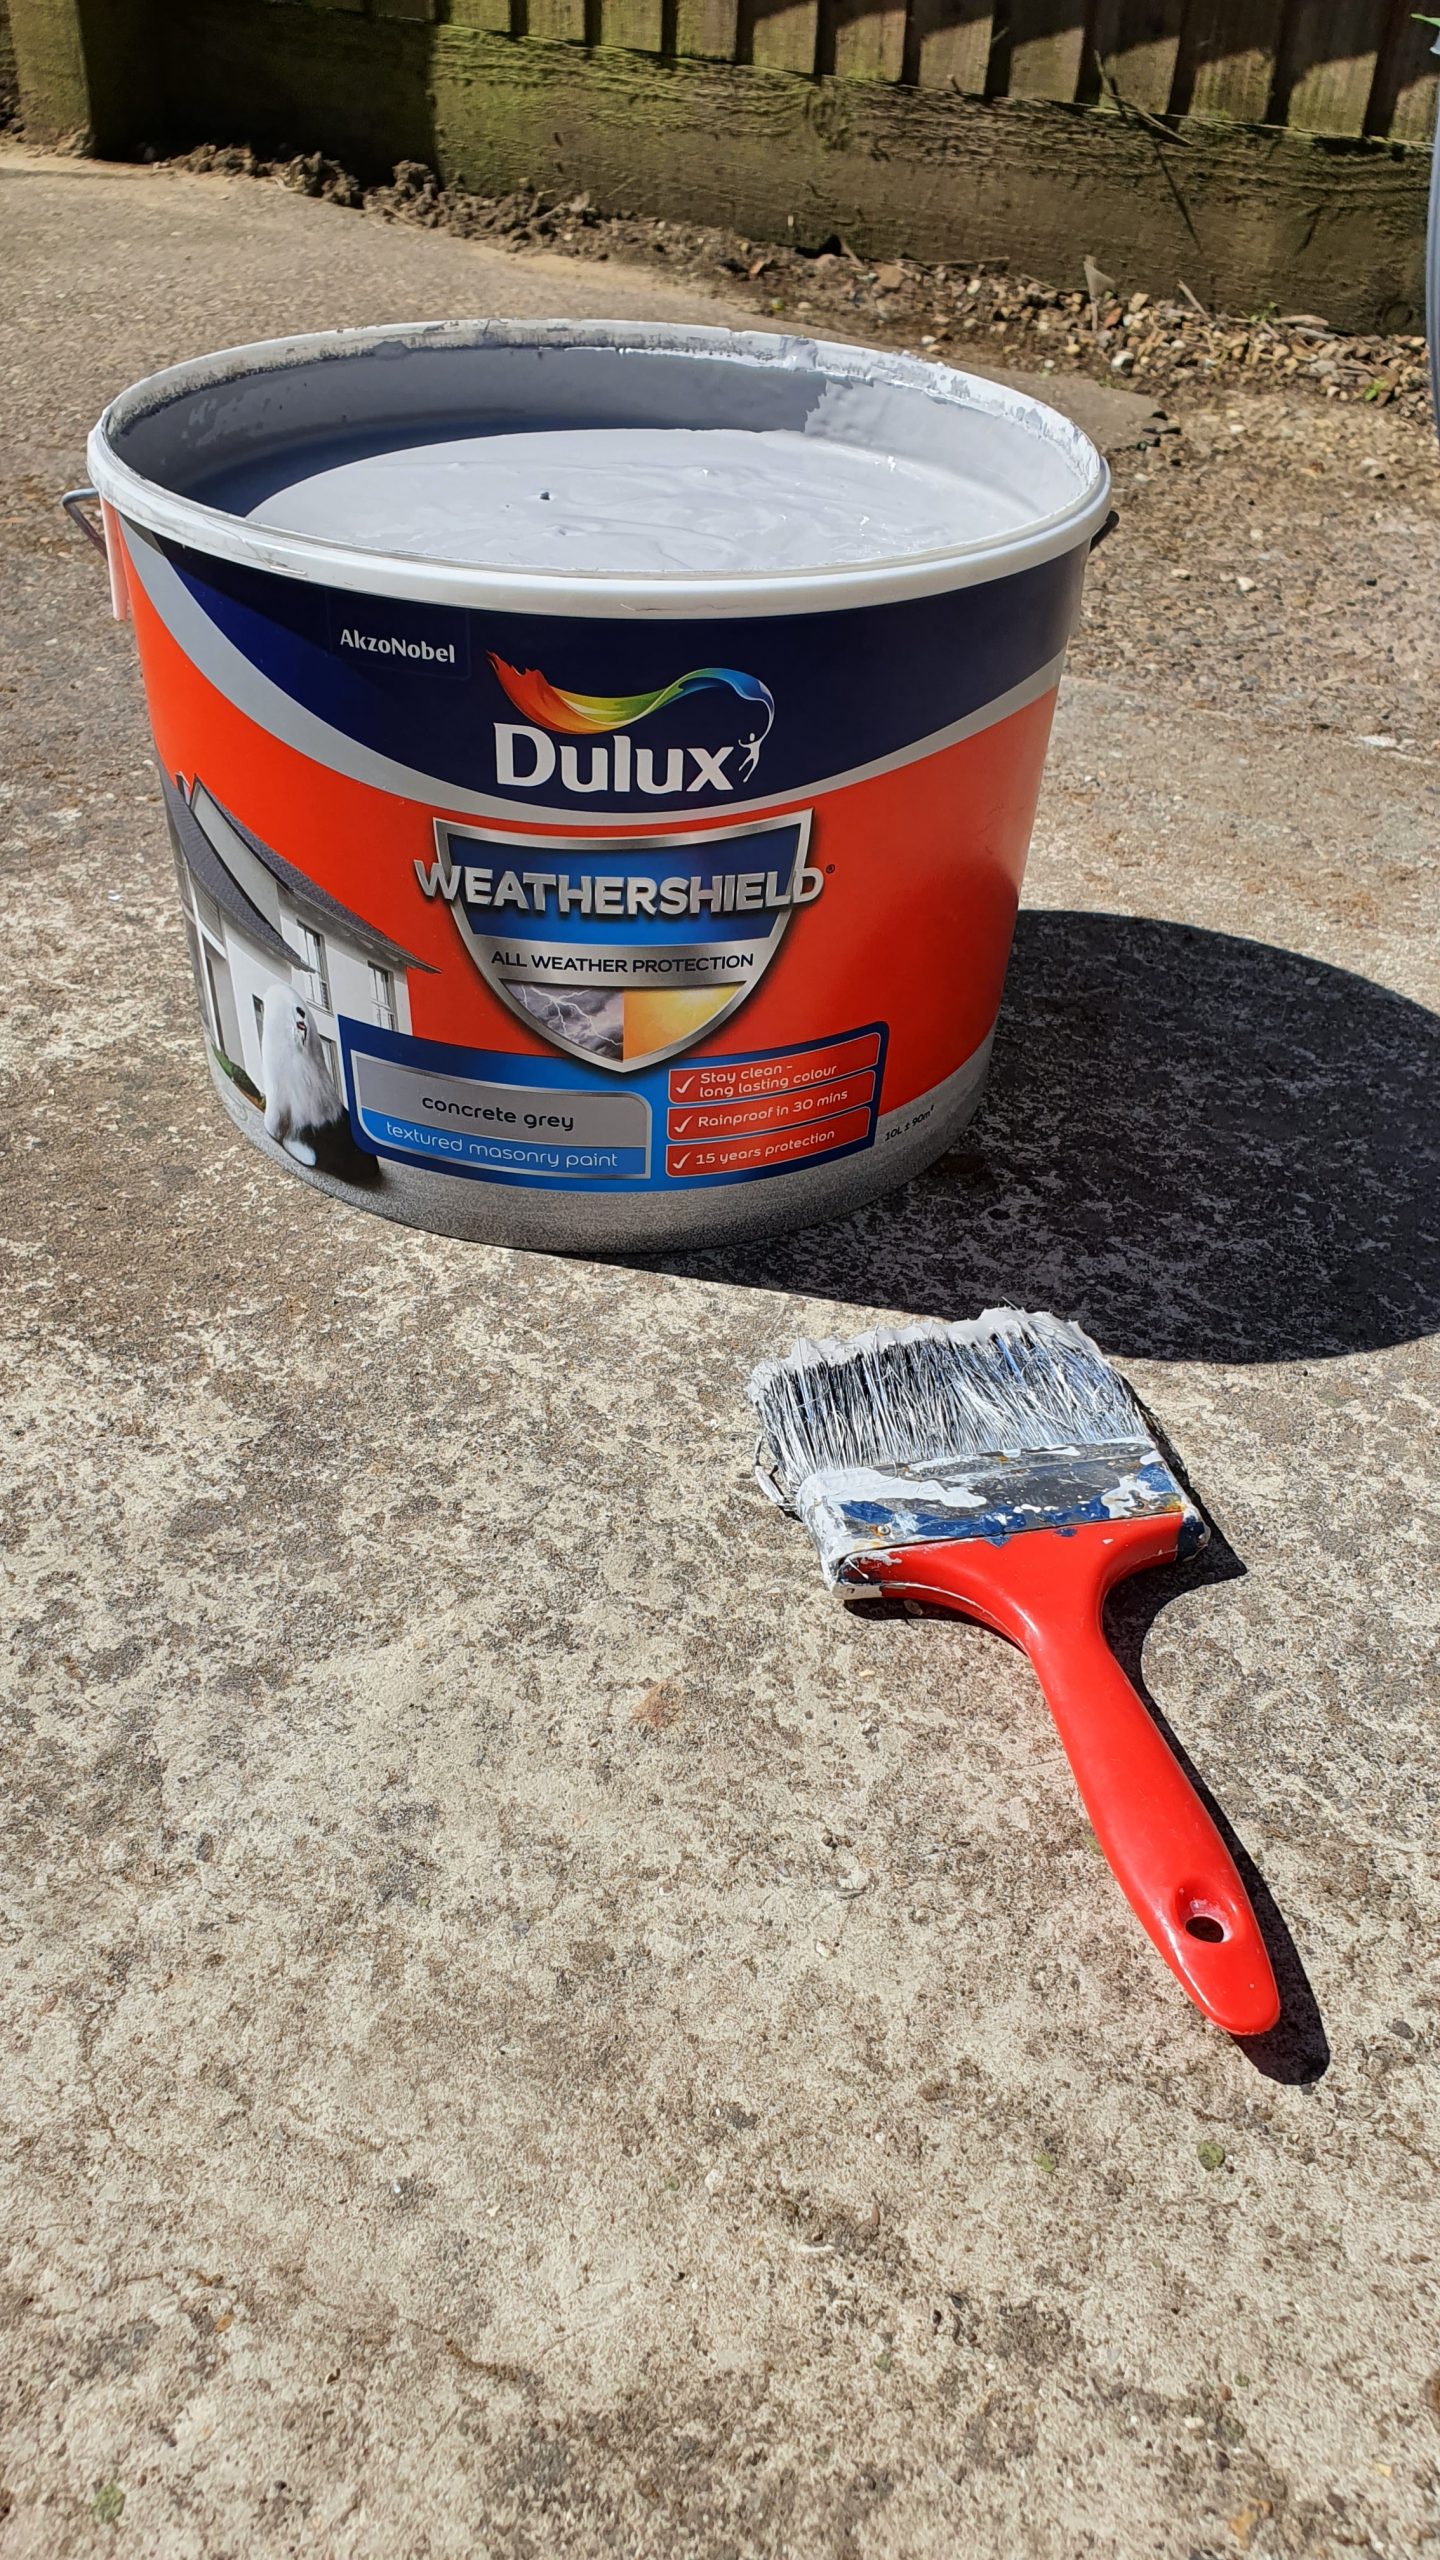
Earlier this year I spotted a huge 10 litre tub of Dulux Weathershield masonry paint in ‘concrete grey’ for only £19 in the B&Q clearance so I bought it thinking it would come in handy for this project! It’s a nice pale grey colour and I had read lots of great reviews about the Weathershield range so thought this would be perfect to use for the base coat.
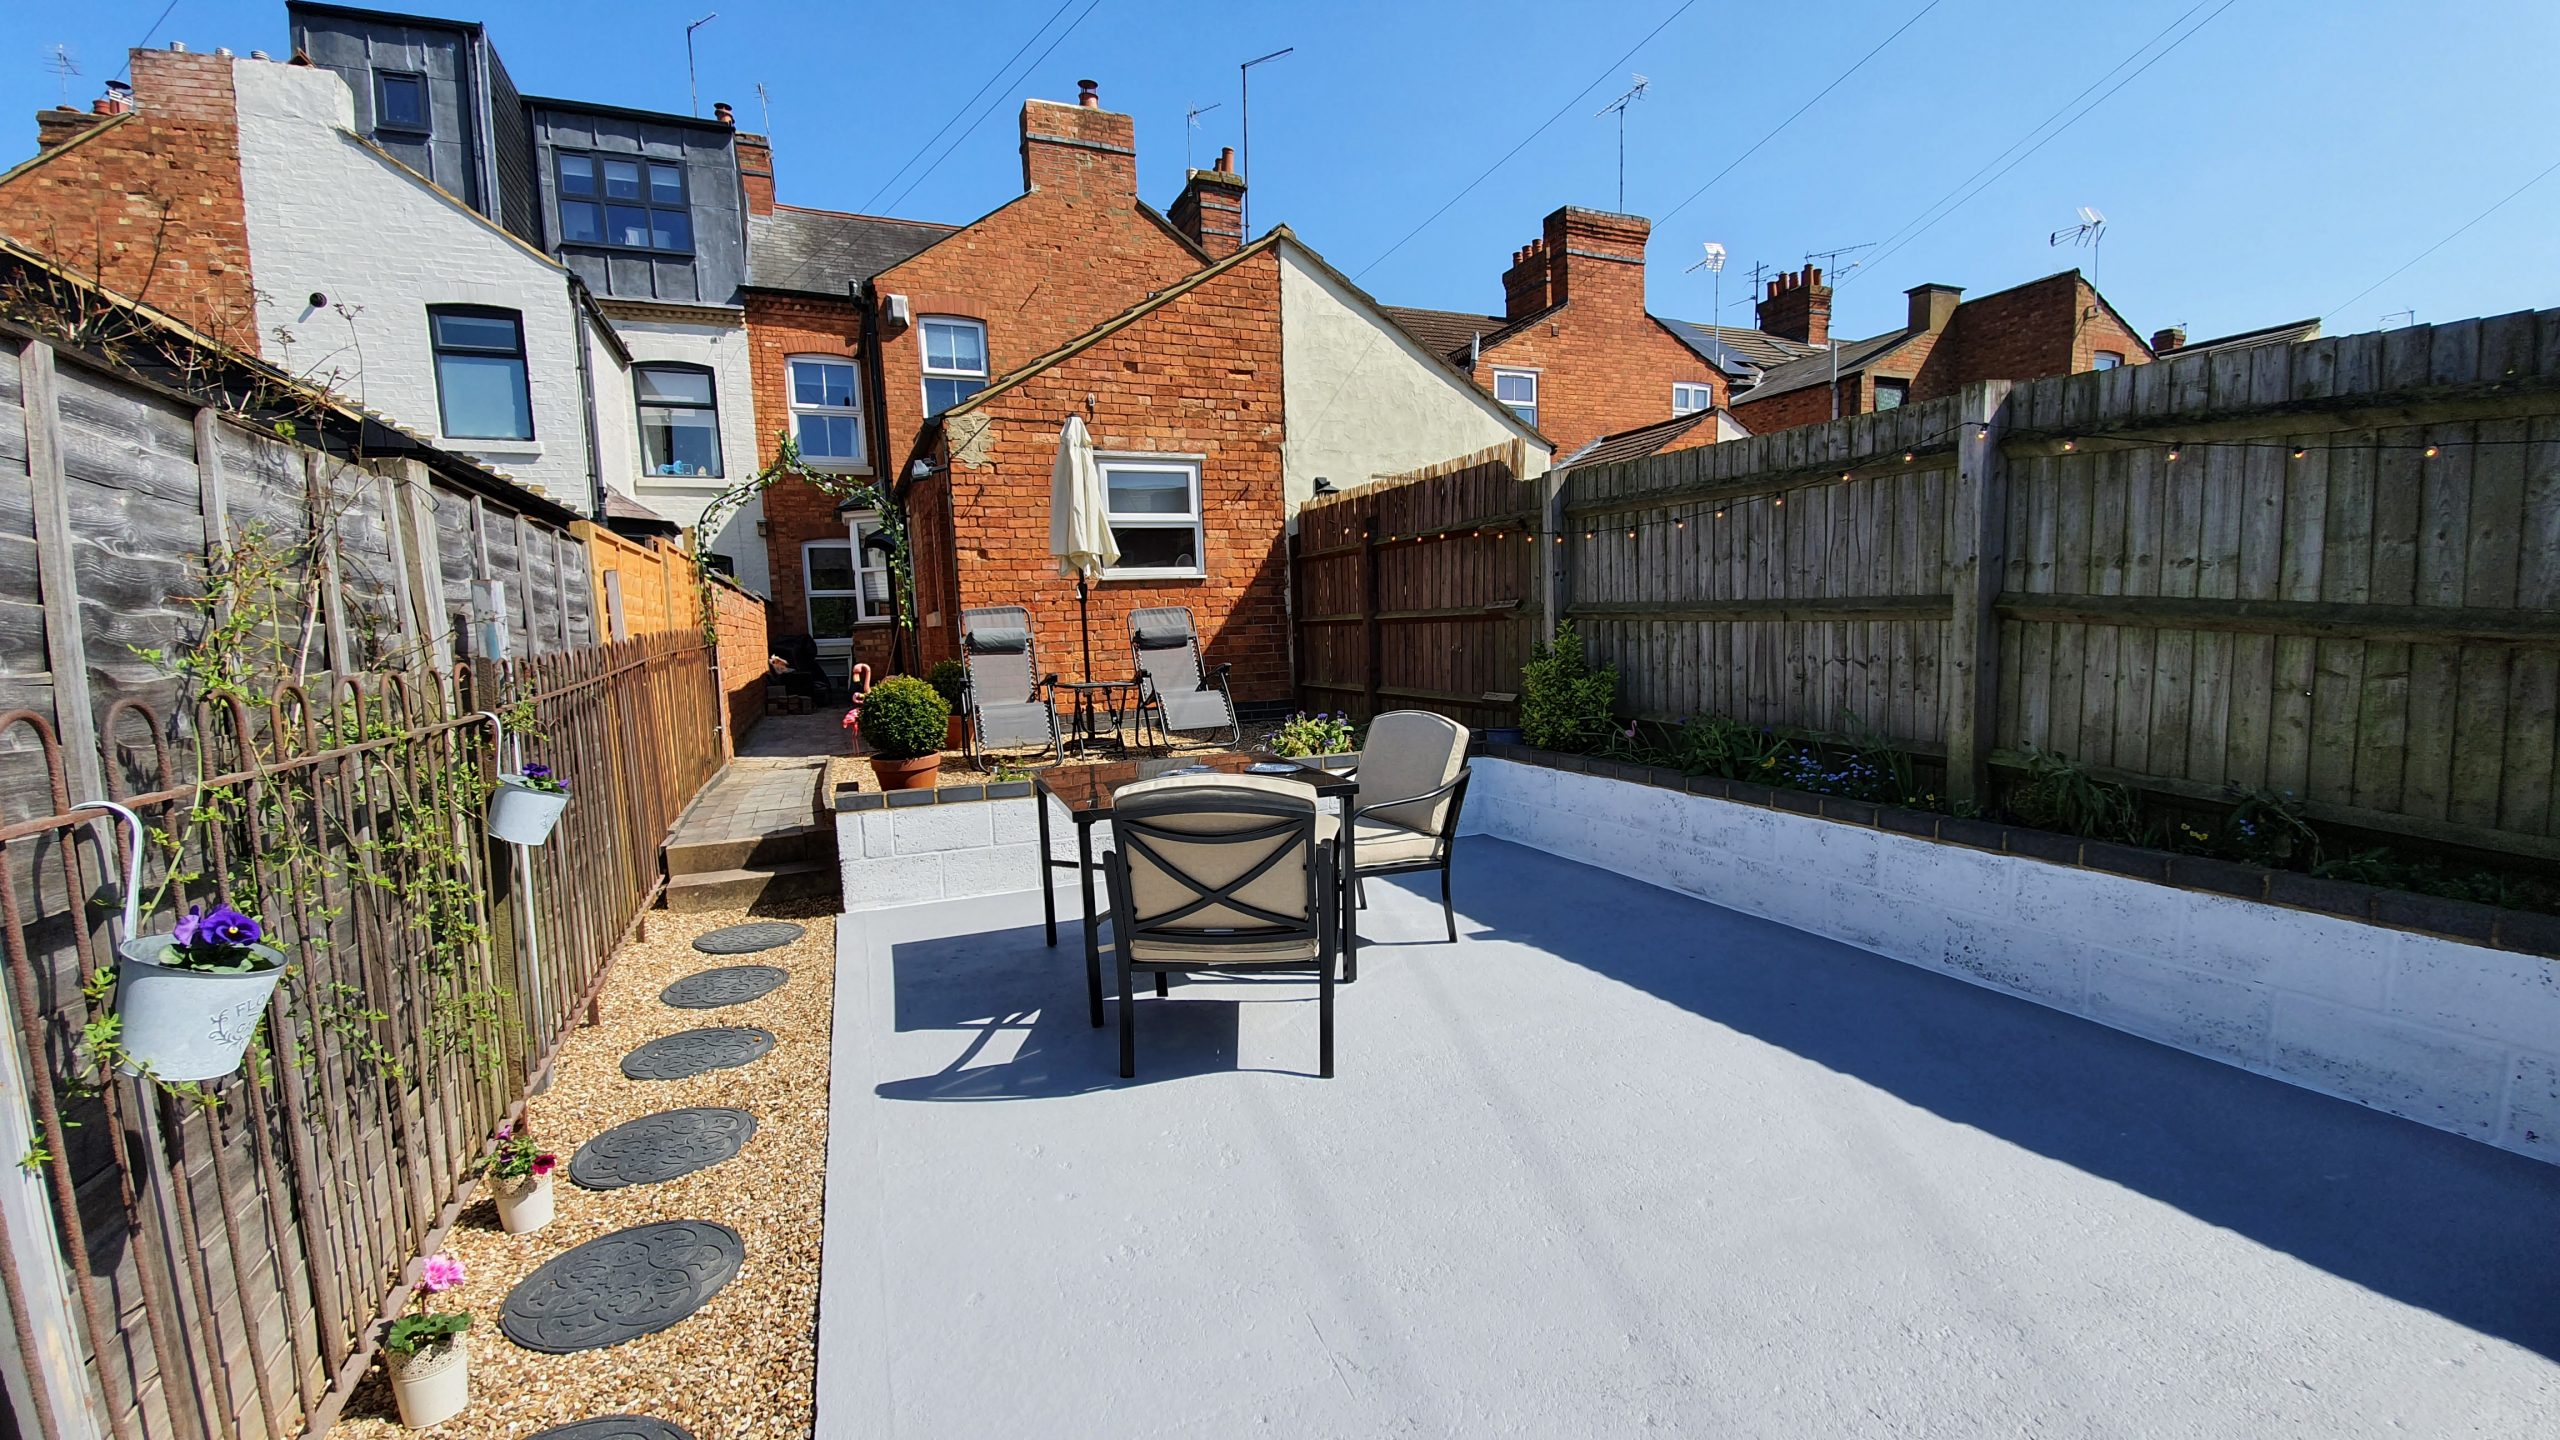
I used a roller on a big stick to give the patio three coats of paint. It looked 100% better straight away! It was so much fresher and cleaner. Although I was nervous at first, I was quickly reassured once I got the first coat on. Anyway.. I couldn’t make it look much worse! I also painted the horrid grey breeze block raised flower bed that goes around the edge of the patio using Leyland white masonry paint (£15 for 5 litres from The Range).

How to stencil a concrete patio
Now for the fun bit! I had seen so many amazing indoor transformations on Instagram that people had done using Dizzy Duck Designs stencils, so I thought I could try doing it on an outdoors project. Dizzy Duck have a range of beautiful Moroccan inspired stencils which allow you to create a faux tiled effect on walls, floors, furniture, or anywhere you like!
I picked the Valencia tile patio stencil [*gifted] in 60cm which I thought would look great painted in white onto the grey background. The tiles are available in various sizes and you can also get one custom made in a size to suit you. The stencils are made from thick plastic (the cheaper concrete stencils on eBay are very flimsy) and are flexible so they’re easy to use. With every order they also include an extra, small stencil for getting into edges, corners and tricky areas.
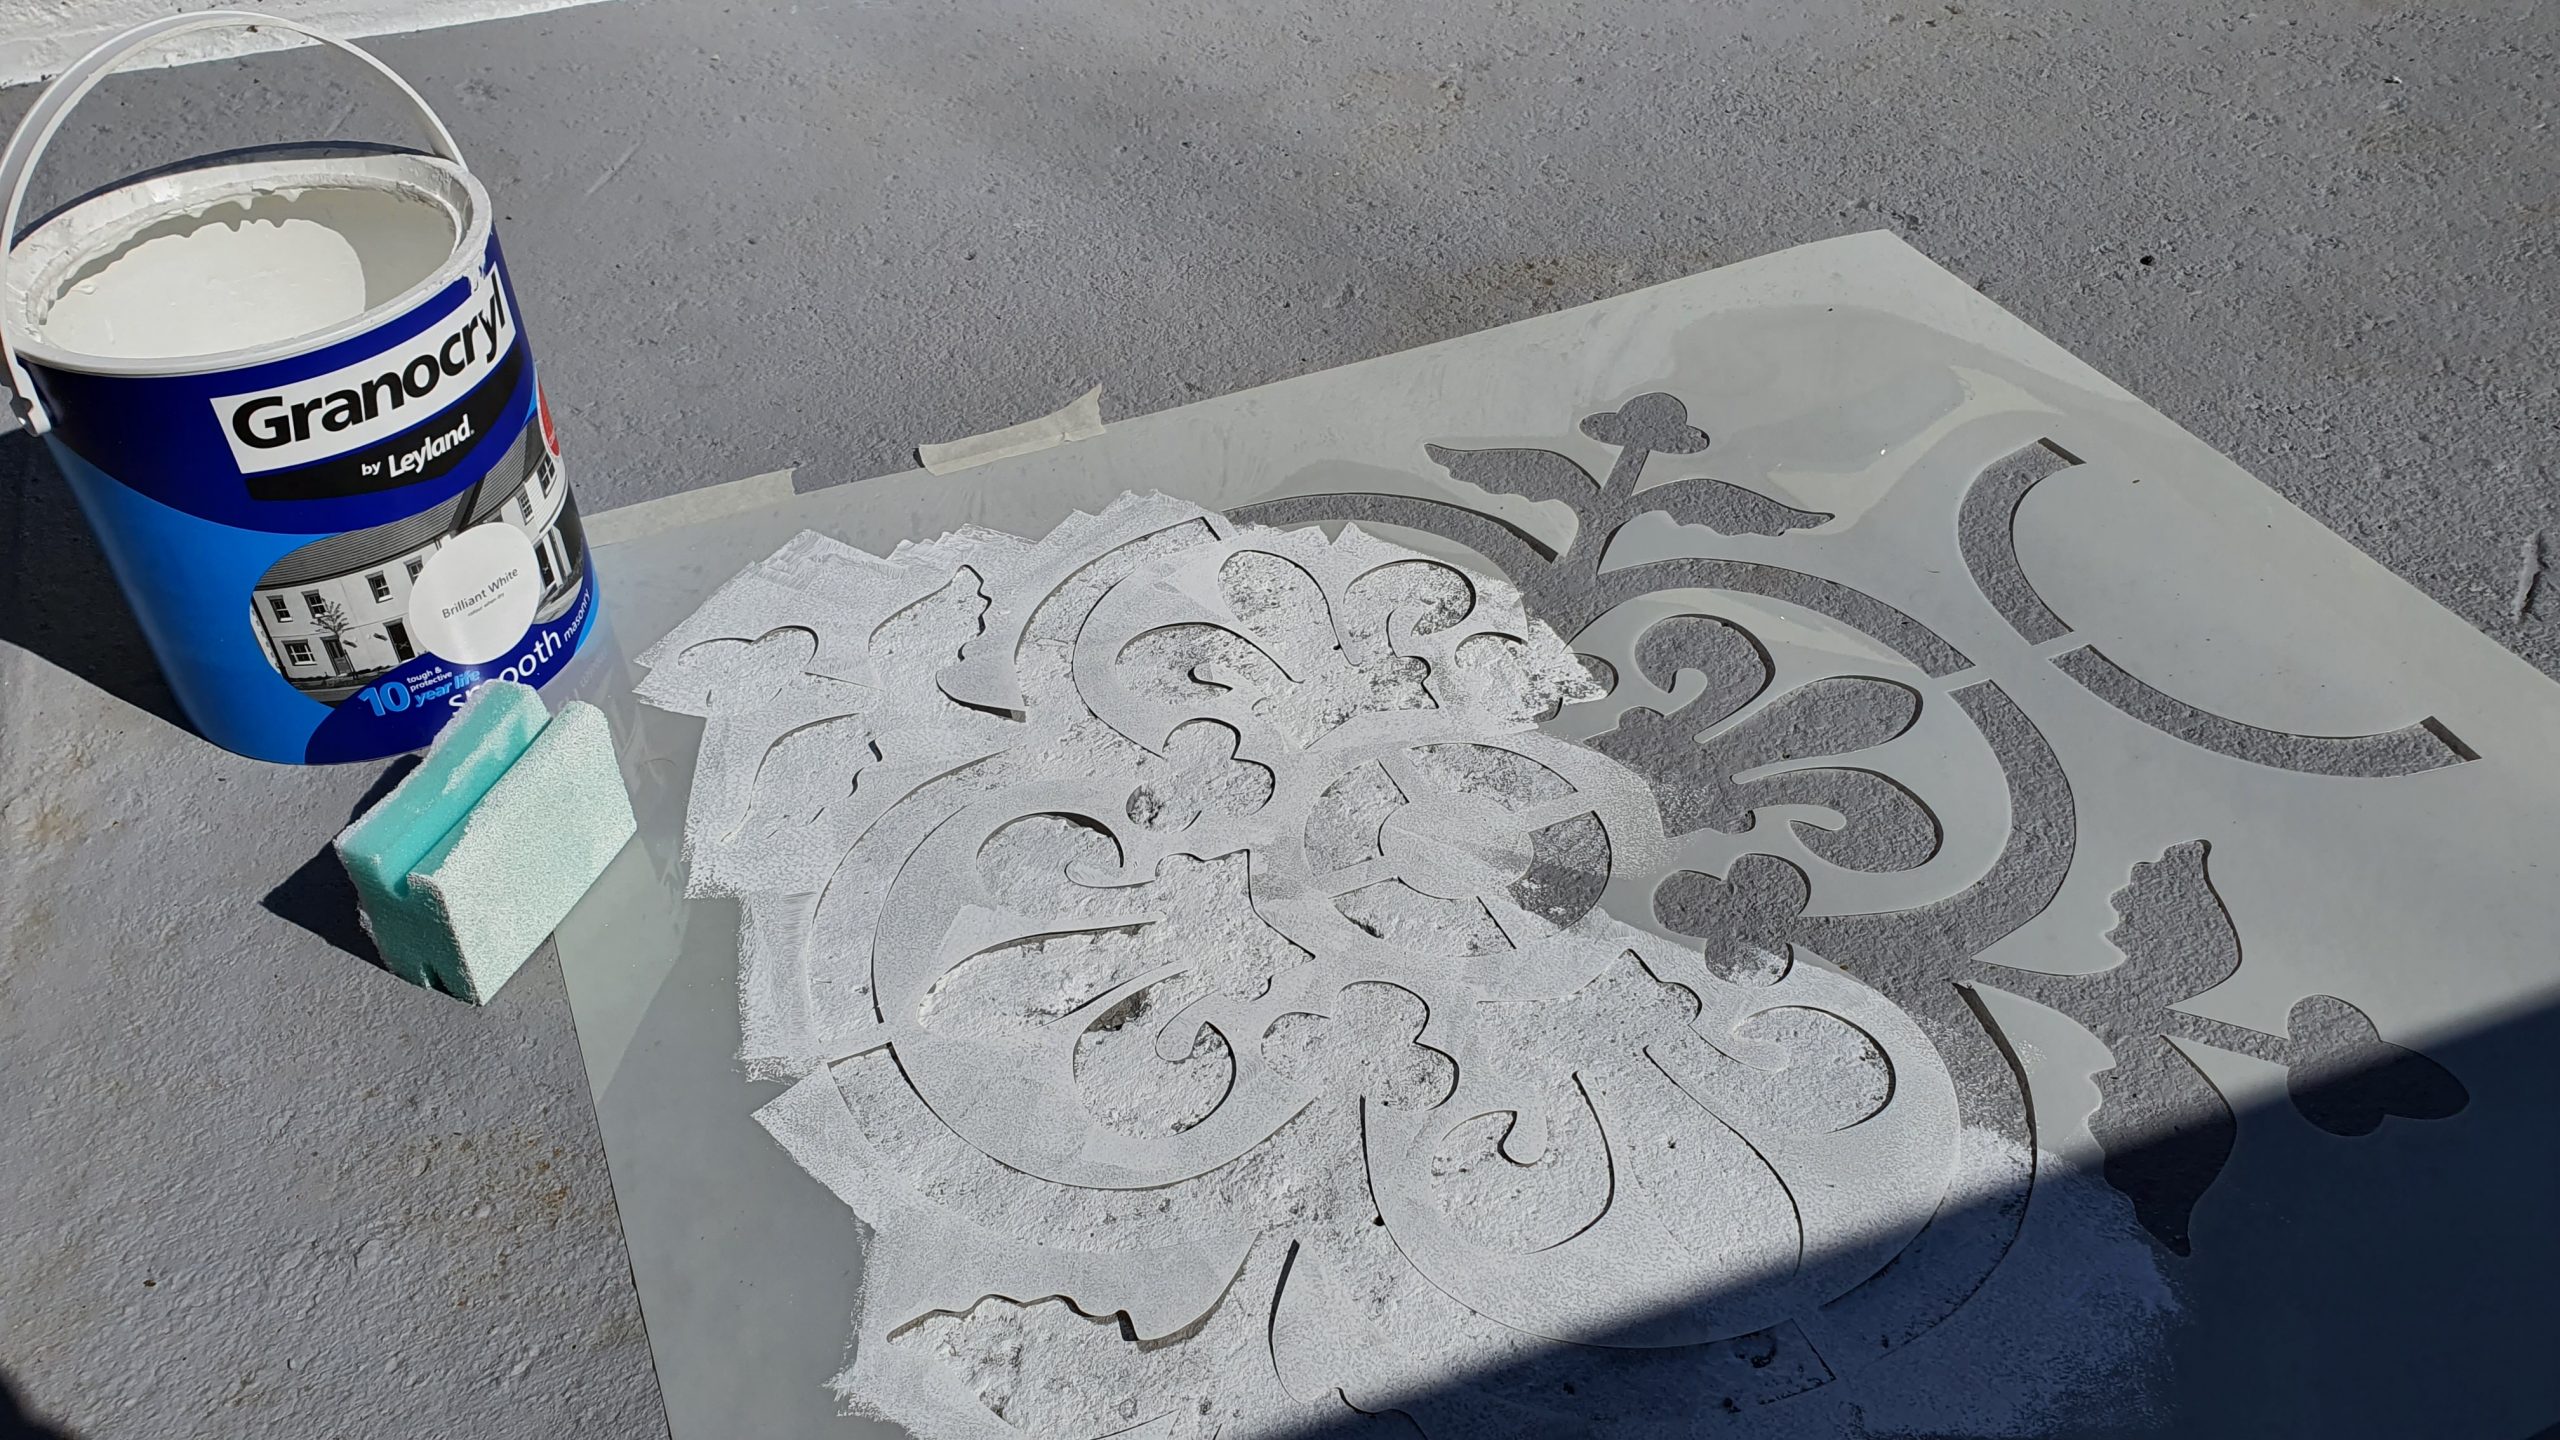
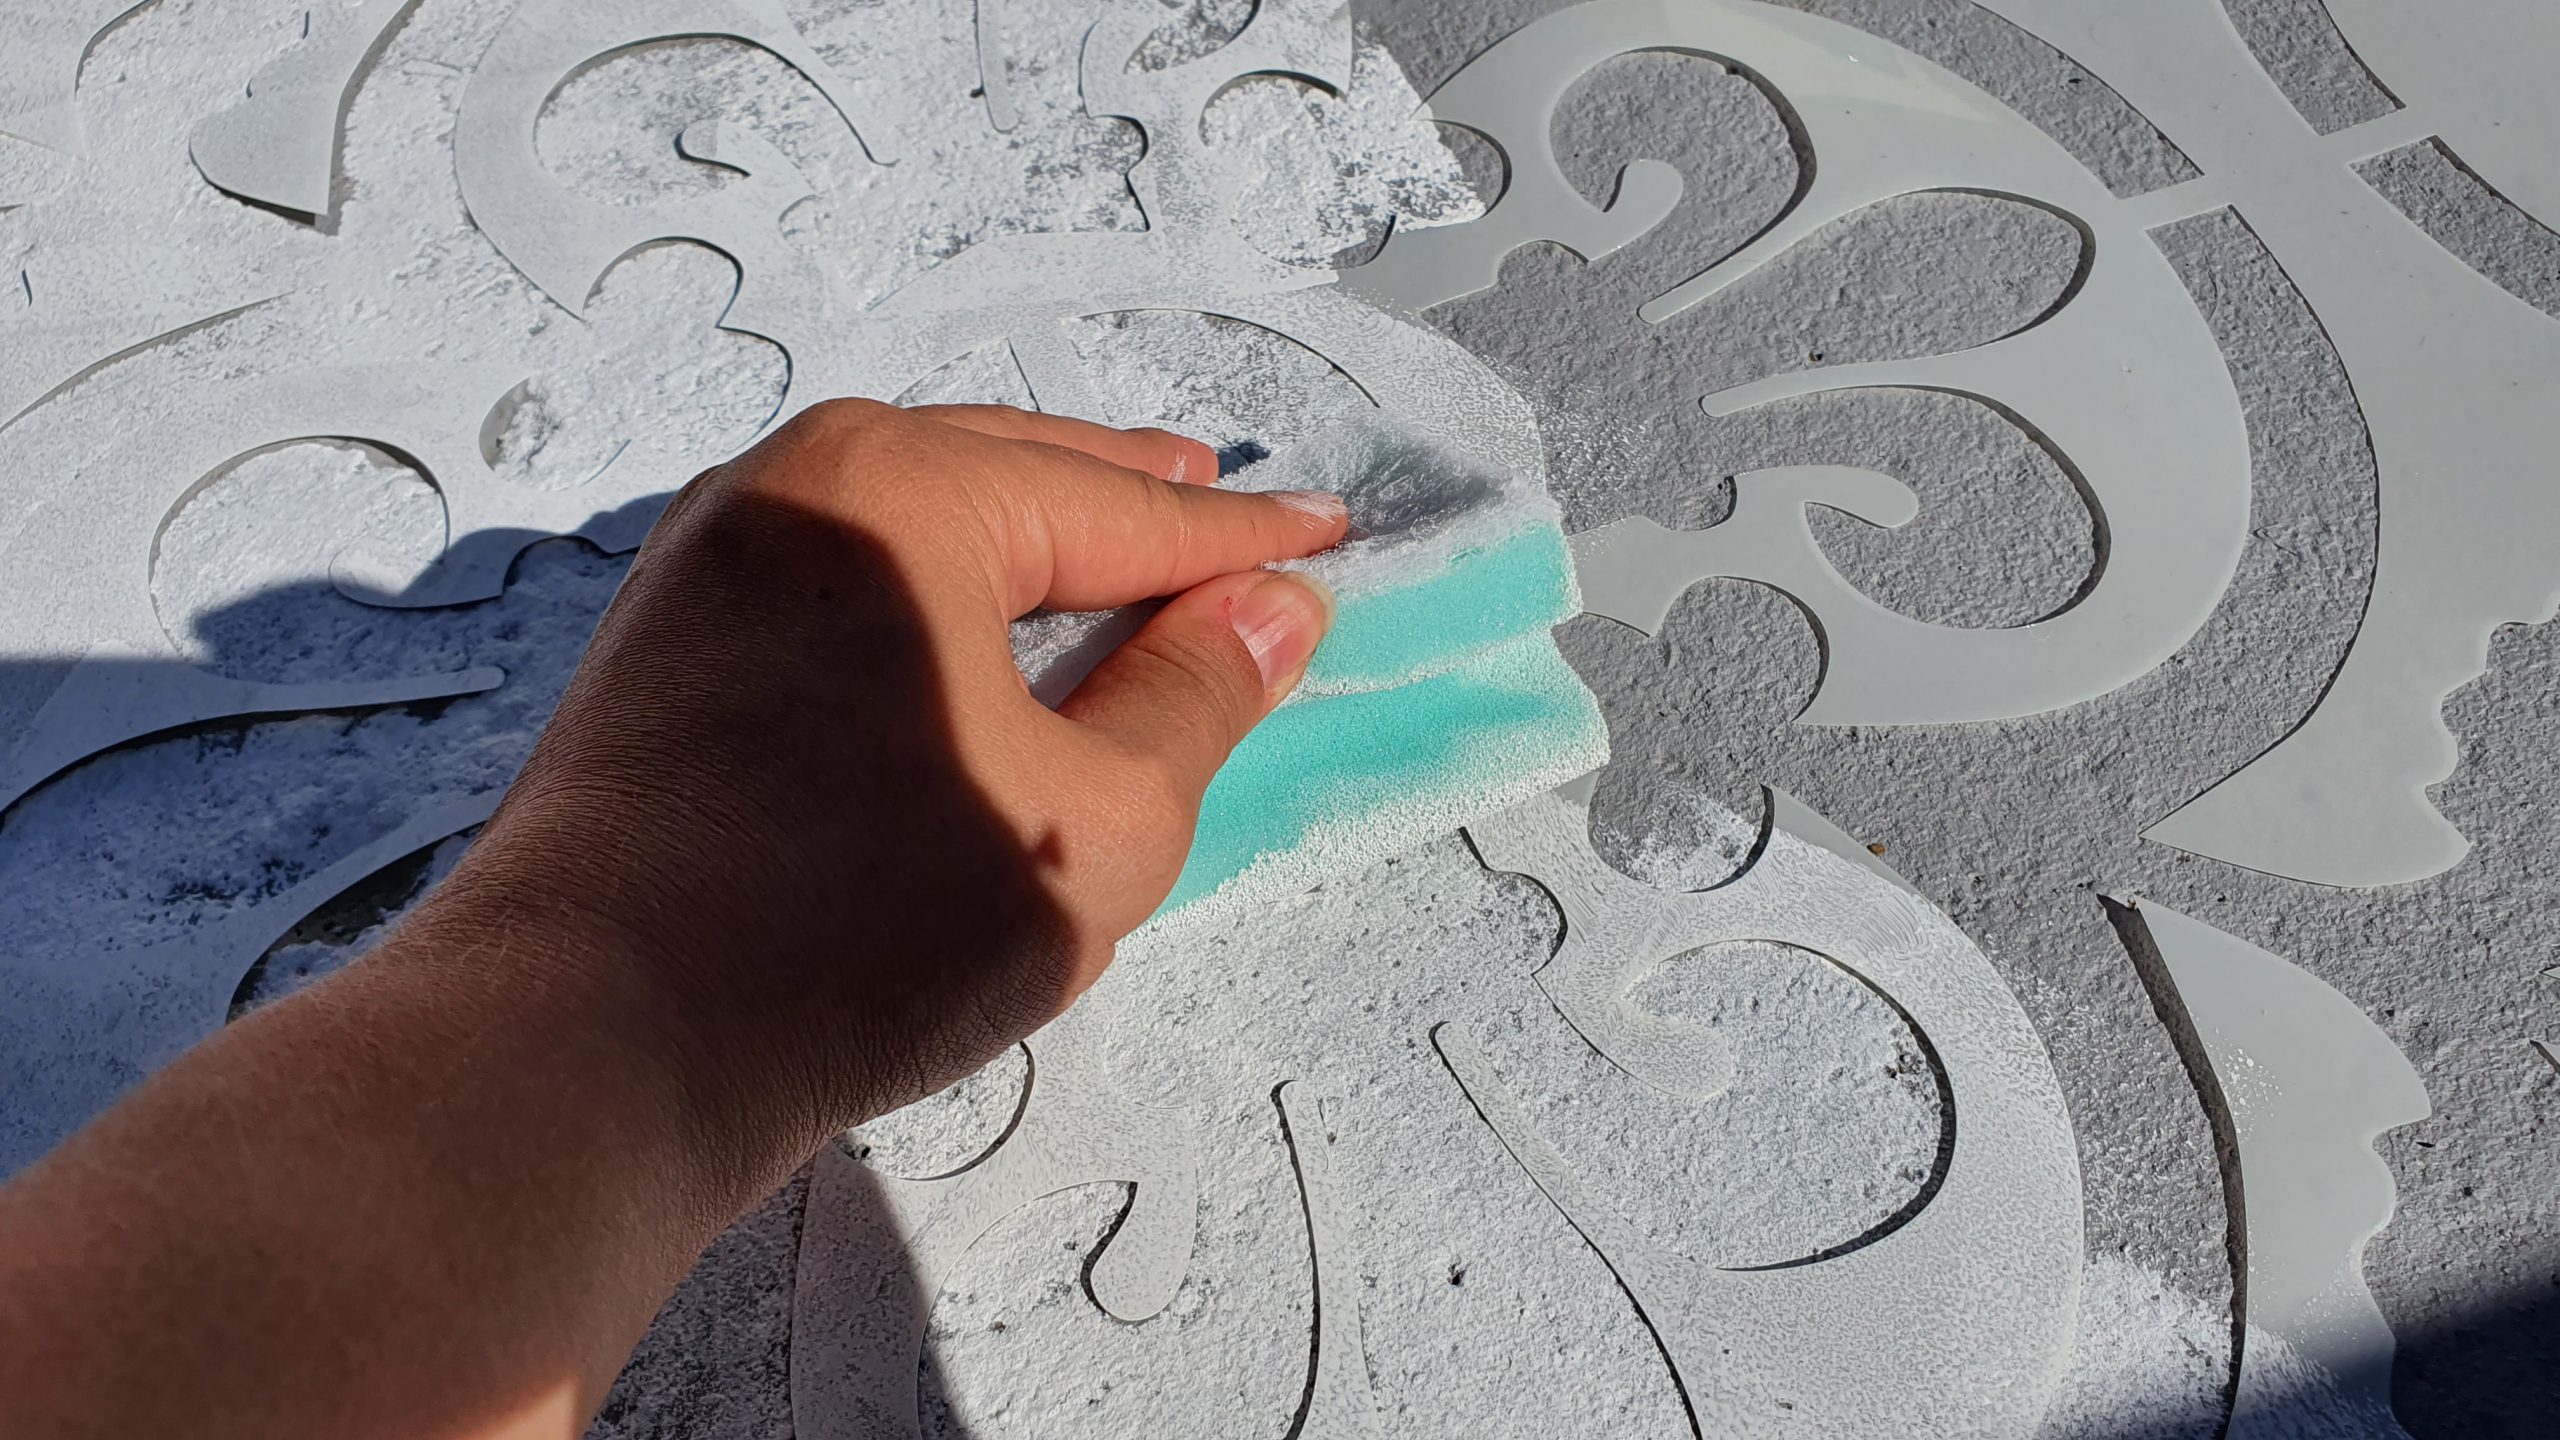
I found the area that I wanted to begin with and I used masking tape to hold the patio stencil in place. Then I dipped a cheap kitchen sponge lightly into my tub of white masonry paint so it had a small amount of paint on, and then I gently dabbed over the stencil. I found that a sponge was the easiest way for me to get full coverage as the concrete was a little bit bumpy. Other people prefer to use a mini roller or a stencilling brush.

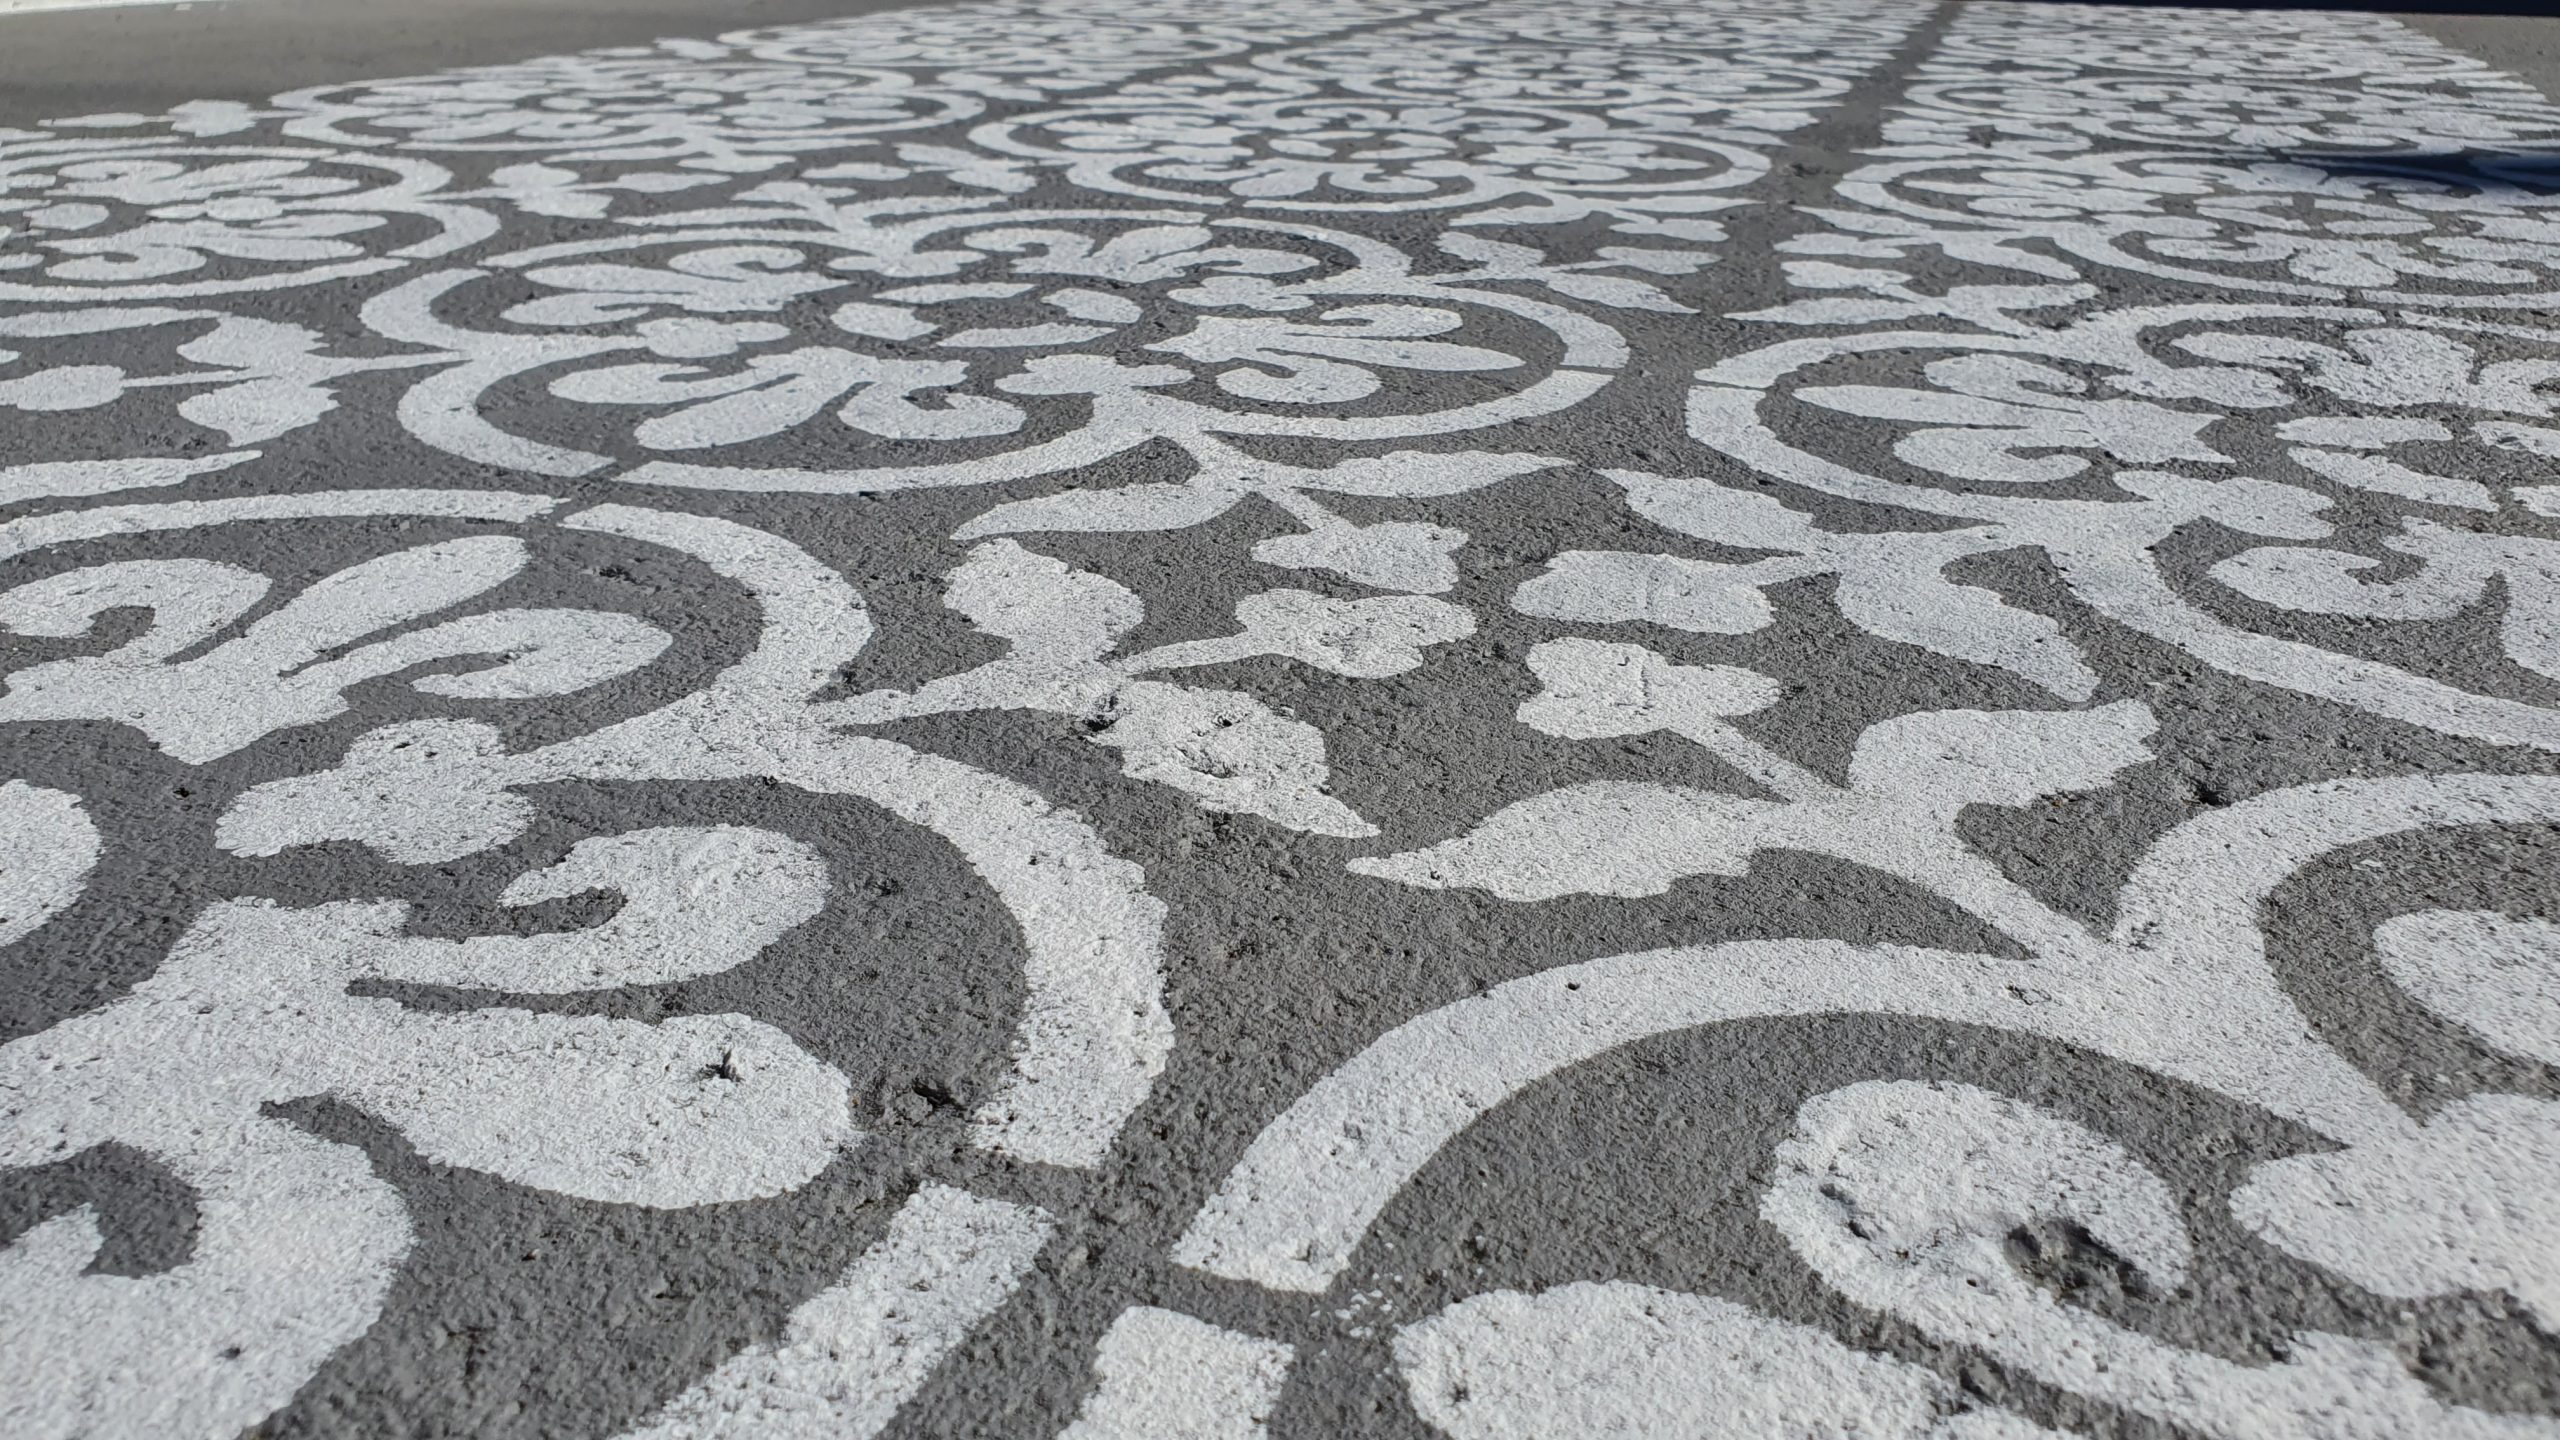
You only need to use a tiny bit of paint because if you use too much then it leads to the paint bleeding beneath the stencil so you’re not left with a crisp finish. Once you’ve finished painting your first stencil, slowly lift it and you should be left with a beautiful stencilled design! For the next tile, you can align the stencil pattern up with your previous one so that the pattern is repeated equally. And then continue this until you’ve completed your area!
I did 6 x 6 tiles so stencilled 36 stencils in total. It’s quite a time consuming process as you need to clean the paint from the stencil each time (otherwise the paint builds up and once dry it doesn’t leave a nice crisp pattern anymore).

Sealing your patio
Once you’ve finished then it’s time to seal your hard work! We had a huge rain storm a couple of days after I finished my stencilling before I had sealed it. Although most of the paint remained, I noticed it had faded in some areas, so sealing it is important!
Dizzy Duck recommend that you use Polyvine Heavy Duty Floor Varnish for sealing, however I couldn’t get my hands on this at the time and it’s also quite pricey, especially on such a large area. So instead I bought the Sika patio seal which was much cheaper.

It looks like blue milk when you open it, but once rollered on it created a layer of protection which you can feel is smoother and it stops dirt, dust and rain from ruining your paintwork. I applied four coats just to ensure maximum protection! It’s been a couple of months now and we’ve had plenty of rain and I’m pleased to say that the patio is still in excellent condition!


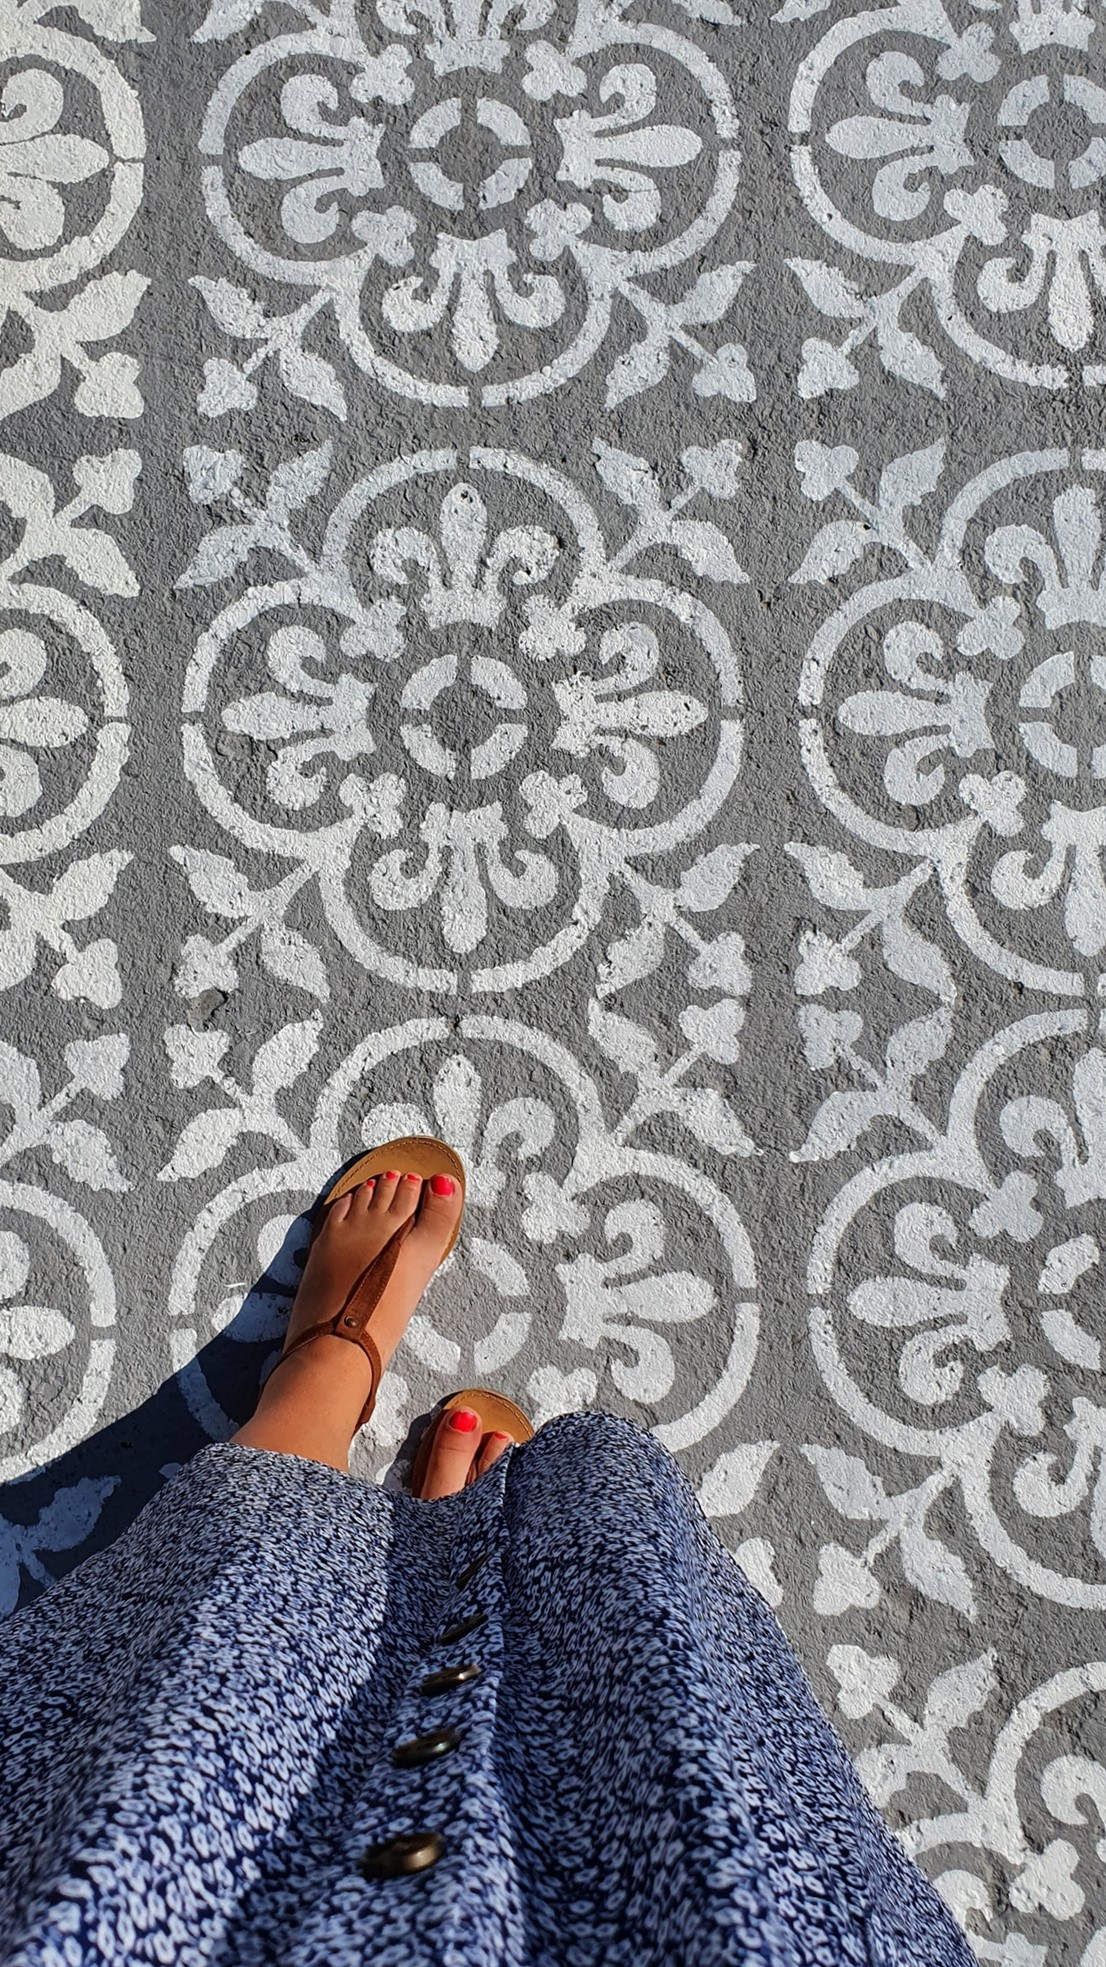
Overall I’m so happy with the finished result of our stencilled patio and I absolutely love the pattern! It’s got a very Mediterranean feel to it. I’ve had so many compliments (people went wild for it on Instagram!) and it’s so satisfying to know that I did this myself and it’s so unique. I’ve now done up the rest of the garden too and we’re absolutely loving sitting out in our new garden in the sunshine with our new garden furniture.
If we had paid to have the concrete removed or had slabs laid on top it would have cost hundreds if not thousands of pounds! This process cost less than £100 in total and was worth every penny! If you have any questions on how to stencil a concrete patio then please do leave me a comment.
Have I helped you?



Such a creative solution and it really looks 2000% better! Thanks for the idea!
Hi it looks gorgeous . I am new,to this . What colour grey did u use in the background &was it just basic white on top please x
Wow so nice to have a little garden outside and this looks
so wonderful..
This looks so amazing! And your yard looks soo much bigger!
Hey, this looks so amazing and has inspired me to do some stenciling in our garden. This post is quite old now so just wondering how it held up?!
Wow, what an amazing transformation. Your patio area looks fantastic now. I love the look of the stenciled concrete. It certainly is a place I could see spending many hours in, relaxing in the sun.
Great post! This is so impressive and lovely and it gives me hope for my backyard projects. Nice work!!
It looks great! If it helps, your garden is still about 5 times bigger than mine!
Thanks for sharing.I found a lot of interesting information here. A really very thankful and hopeful that you will write many more posts like this one.
I love your style
Lovely transformation💫
Stenciling a concrete patio can be a great way to add some decorative flair to your outdoor space. I also love your garden makeover it is amazing!
See the Pro Stamped Concrete Columbia
I love the texture the sponge provides. I’m inspired!! Looks great!!
This project proves that with a little patience and the right tools, you can achieve a premium tiled look on a small budget. Stencilling is a high-impact way to add personality to a property while increasing its curb appeal. Click here to know more about Stamped Concrete Clearwater
How does this look now? Has it faded, have you had to repaint it?